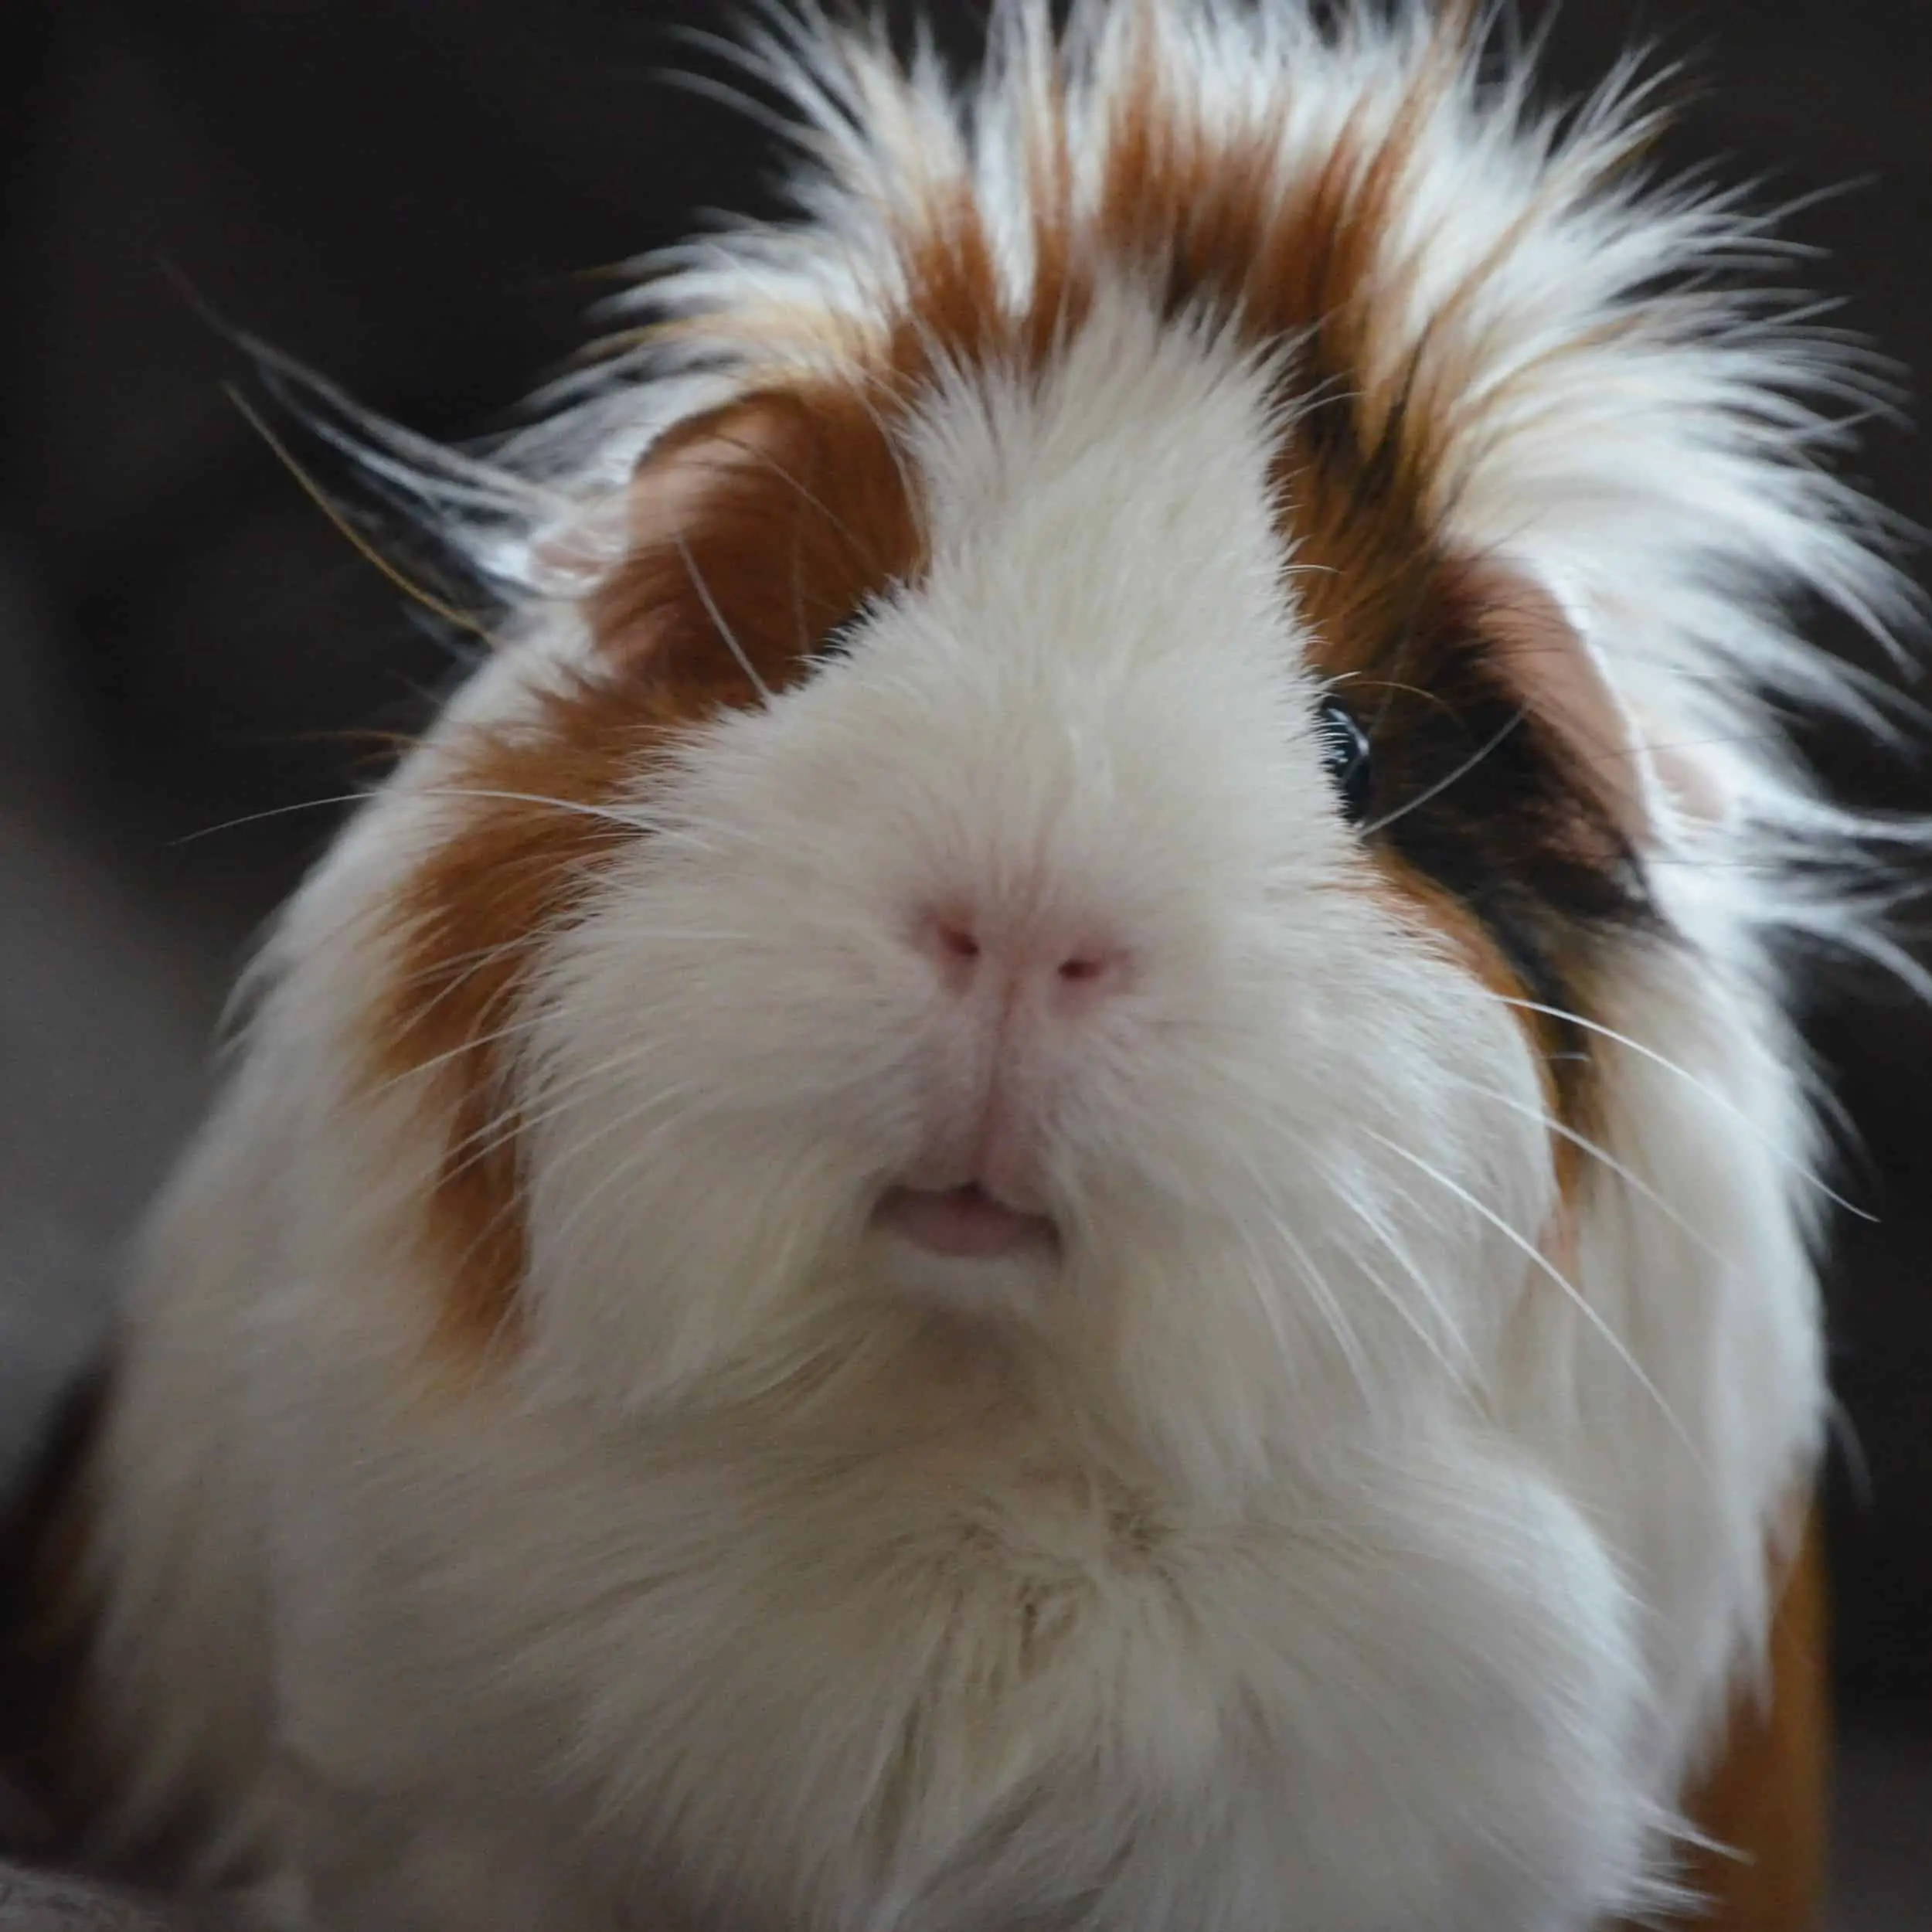
The bulk of a guinea pig’s diet consists of fresh hay or pellets. However, leafy greens are another important component of a healthy guinea pig diet. After learning about the potential benefits of humans eating microgreens, I wondered whether these little leafy vegetables are healthy for guinea pigs too. So I did a little research.
Some types of microgreens make a good addition to a guinea pig’s diet. Microgreens are packed with vitamins and minerals that promote healthy growth and improved digestion. However, you should only give guinea pigs small quantities of microgreens. This is because microgreens contain a lot of calcium which can cause bladder stones.
This article will detail which microgreens are healthy for guinea pigs and will list the steps to growing these microgreens at home.
What Are Microgreens?
Microgreens, which are sometimes called vegetable confetti, are small leafy vegetables that are harvested just after the cotyledon leaves develop. Cotyledon leaves are also known as seed leaves and are defined as the embryonic leaf in seed-bearing plants. The cotyledon leaves are the first to appear from a germinating seed.
Almost any vegetable can be grown as a microgreen. Commonly grown microgreens include sunflower, pea shoots, broccoli, kale, and beet. In general, microgreens are relatively easy to grow. However, some types of microgreens are more difficult to grow than others.
Why Grow Microgreens For Your Guinea Pig
There are several fruits and vegetables that you could be growing for your rabbit. So you may be asking yourself why bother growing microgreens?
Nutrition
First, microgreens are packed with nutrients. Research indicates that microgreens may actually be more nutritious than the full-grown plant. Research conducted by Dr. Qin Wang, who is an associate professor at the University of Maryland at College Park, has found that microgreens are four to 40 times more concentrated with nutrients than their mature counterparts.
Microgreen researchers believe this high nutrient density is due to microgreens being harvested right after germination when all of the nutrients they need to grow are present.
Microgreens contain a number of vitamins that are beneficial to your guinea pig such as vitamin A, vitamin C, vitamin D, oxalate acid, phosphorus, and iron. These nutrients promote healthy growth, bone growth, and improved digestion. The vitamin C content helps prevent scurvy which is a common problem for guinea pigs.
Finally, microgreens would make a good addition to your guinea pig’s diet because they are low in sugar. This means that feeding your guinea pig microgreens helps control their blood sugar and prevents diabetes.
Although microgreens have a number of health benefits, it is important that you do not give your guinea pigs large quantities of microgreens. The phosphorus and oxalate acid in microgreens can cause flatulence problems.
Quick And Easy To Grow
Many types of microgreens are easy to grow at home. In comparison to other vegetables, growing microgreens require very few supplies and little skill to grow depending on the species of plant. In addition, you can harvest most types of microgreens within 10 to 28 days of sowing the seed depending on the type of plant. It can other types of vegetable months to grow from seed.
Can Be Grown In Small Spaces
Finally, microgreens are very space-efficient. One 10″x20″ growing tray is large enough to produce enough microgreens for two adults to eat for one week. This means even those who live in apartments or in a small house can grow microgreens.
Cost Savings
The microgreens sold in the grocery store are fairly expensive. Fortunately, you do not need to spend a lot of money on equipment to get started growing microgreens. By growing your own microgreens, you will be saving money for a fresher food item.
You Can Enjoy Microgreens Too!
Your guinea pig does not have to be the only one who benefits from growing microgreens. These little vegetables are packed with flavor and make a great addition to many culinary creations.
Microgreens vs Sprouts
Microgreens are not the same thing as sprouts. Although microgreens and sprouts can be grown from the same seed, they look and taste different. This is because microgreens and sprouts are harvested during different parts of the growing cycle. Sprouts are germinated seeds. In contrast, microgreens are harvested after cotyledon leaves develop which a little further along into the growth cycle.
Guinea pigs can also eat sprouts. Like microgreens, they are packed with vitamins and nutrients. However, it is important to keep in mind that sprouts are grown in a warm, moist environment that is ideal for bacteria growth.
Good Microgreens For Guinea Pigs
The table below lists some microgreens you should consider incorporating into your guinea pig’s diet. It is important to remember that just as nutritional needs vary slightly among humans, every guinea pig is slightly different. Consult your veterinarian before adding new foods to their diet.
| Microgreen | Maximum Feeding Frequency | Growing Difficulty | Presoak Seeds? | Preferred Growing Medium | Harvest Time |
|---|---|---|---|---|---|
| Basil | Weekly | Difficult | No | Hydroponics | 12-16 days |
| Beet | 1-2 times per month | Easy | Yes | Soil | 10-12 days |
| Broccoli | 2 times per week | Easy | No | Hydroponics | 7-14 days |
| Carrot | 1-2 times per week | Intermediate | No | Soil | 14-28 days |
| Cilantro | 3-4 times per week | Difficult | No | Soil | 21-28 days |
| Collard Greens | Weekly | Easy | No | Hydroponics | 10-12 days |
| Dandelion Greens | 2 times per week | Easy | No | Soil | 12-25 days |
| Endive | 3-4 times per week | Intermediate | No | Soil | 8-15 days |
| Kale | Weekly | Easy | Yes | Soil or Hydroponics | 8-12 days |
| Parsley | 2 times per week | Intermediate | Yes | Soil | 21-30 days |
| Radish | 1-2 times per month | Easy | No | Soil or Hydroponics | 6-12 days |
| Watercress | Weekly | Difficult | No | Hydroponics | 8-12 days |
Calcium Content
It is important that guinea pigs do not eat too much calcium. Excess calcium can cause bladder stones in guinea pigs. Because microgreens contain several times the nutrients of their mature counterparts, it is a good idea to only give your guinea pig small quantities of microgreens.
How to Grow Microgreens
Growing microgreens is relatively easy. However, it is important to follow some key steps. These steps are listed below. If you are on a tight budget, you could probably get away with not adjusting pH or using a heating mat.
Some microgreens will do better when grown hydroponically (a technique that involves growing plants in a soilless growing medium) and others will do better when grown in soil. The table provided in the previous section lists the preferred growing medium for several types of microgreens.
For a more comprehensive guide on how to get started growing microgreens, check out my Ultimate Guide to Growing Microgreens article.
Materials
- Soil or growing mat if you are growing your microgreens hydroponically
- Seeds
- Heating Mat
- Grow lights if you do not have access to a sunny window.
- pH Up/pH Down
- Growing trays (make sure you purchase growing trays without drainage holes if you are growing microgreens hydroponically)
- Sharp scissors for harvesting
- Hydrogen peroxide
- White vinegar
- Warm, soapy water
Steps
- Compile the materials listed above.
- Sanitize your growing tray. Clean your tray with warm, soapy water. Then spray the tray with a hydrogen peroxide solution. After ten minutes, rinse the hydrogen peroxide solution off of the growing tray. Finally, use a clean cloth to dry off the tray. Alternatively, you can use StarSan to sanitize your growing trays.
- Sanitize your seeds by soaking the seeds in a mixture of 4 tsp of white vinegar, 4 tsp of food-grade hydrogen peroxide, and 1 quart of water.
- If applicable, soak your seeds overnight. In general, larger seeds like sunflower seeds should be soaked prior to sowing. However, smaller seeds do no need to be soaked. Make sure the pH of the water is 6.0. You can adjust the pH of the water using pH Up or pH Down.
- Soil Only – Fill your growing tray with sterile soil (if applicable). The soils should be no more than 2 inches deep. Lightly spray the soil surface with water.
- Hydroponics only – If you are using a growing mat, pour water into your growing tray. Make sure the pH of this water is between 5.6 and 6.5. Then place your growing mat on the water surface and allow it to absorb water. Tilt the tray and pour out any excess water.
- Evenly spread your seeds over the soil or growing mat.
- Place the growing tray on a heating mat and cover the seeds with another growing tray for 2-5 days. Note that the optimal blackout period varies depending on what microgreens you are producing.
- Upon completion of the blackout period, place the growing tray under your grow lights or by a sunny window. Your microgreens will be a pale yellow color. Do not worry about this. It is completely normal.
- Check your microgreens every day until it is time to harvest and water when necessary.
- Your microgreens will be ready to harvest 7 to 14 days after sowing. When harvesting, cut the microgreens right above the soil level or growing mat. If possible, it is best to harvest microgreens right before you or your guinea pig consume them.