Microgreens are one of the fastest food crops you can grow in your harm or garden. There are many microgreen varieties that can be grown from seed within 7-10 days! In addition to being a fast-growing crop, microgreens make a fantastic addition to any diet. They are packed with nutrition and add extra flavor to food.
Because microgreens grow so quickly and are so delicious, it can be easy to grow more than you can eat. Unfortunately, microgreens do not tend to stay fresh for a long time, so these extra microgreens can go to waste. Personally, I hate wasting food so I have been researching ways to preserve microgreens, and I found an effective way to preserve my microgreens.
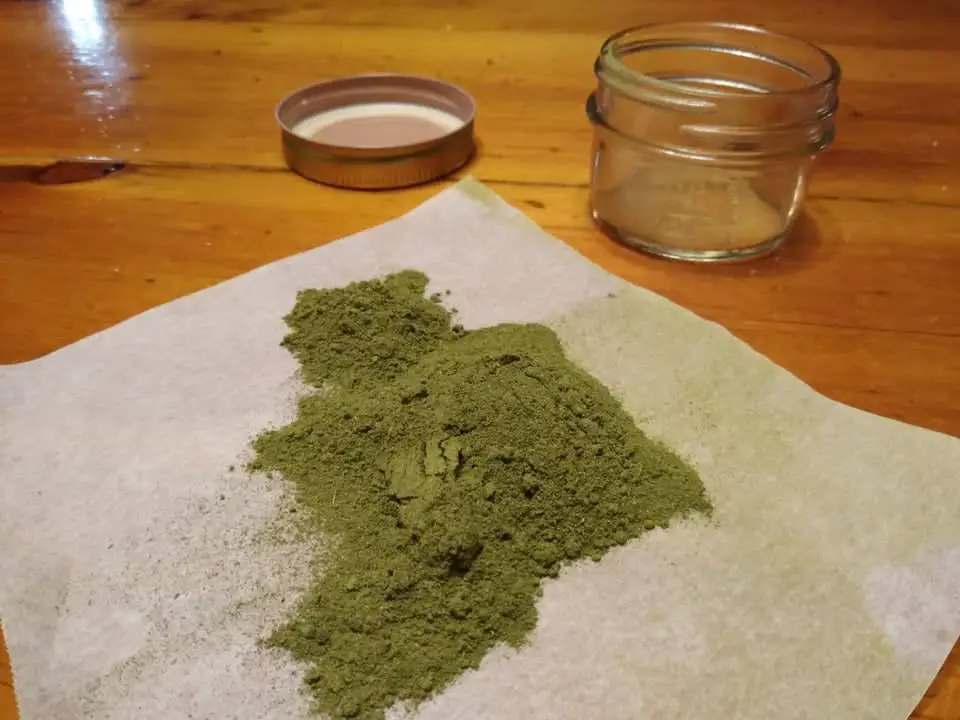
Microgreens can be dehydrated to extend their shelf life to up to 8 years! Dehydrated microgreens can be added to soups, salads, smoothies, or made into a nutritious green powder. Microgreens can be dehydrated using a dehydrator or a conventional oven. It is best to use a cold raw dehydration process in order to preserver the nutritional value of your microgreens.
You can purchase dehydrated microgreen powder from companies such as Lake Forest Farm Microgreens for $0.83 – $1.00 per serving. A more budget-friendly option is to dry your own microgreens. The rest of this blog post will discuss how to dehydrate your microgreens at home as well as the benefits of dried microgreens.
Dehydrating Microgreens
I like to eat my microgreens raw, but some people will sautee their microgreens. If you eat your microgreens cooked, you can blanch or steam the microgreens you plan to dry. Lightly streaming microgreens before eating them makes it easier for your body to absorb the plant’s nutrients. In addition, steaming helps to soften stems which makes it easier to dehydrate microgreens with thicker, fibrous stems (like pea shoot microgreens).
Drying Microgreens With A Dehydrator
Step 1: Pre-Heat Your Dehydrator
First, pre-heat your dehydrator to 110°F while you begin to prepare your microgreens. Dehydrating your microgreens at this lower temperature qualifies the microgreens as “raw” even after they have dried because the lower temperatures preserve the nutrients in the microgreens. Just keep in mind that these lower temperatures will result in longer drying times.
Alternatively, you can use the herbs setting on your dehydrator.
Step 2: Prepare the Microgreens
While your dehydrator is pre-heating, wash your microgreens thoroughly. After washing you microgreens, it is important to dry them thoroughly. I recommend using a salad spinner to get rid of as much moisture as possible. Then take them out of the salad spinner and pat them with a paper towel. Finally, allow the microgreens to air dry on your countertop until you are ready to put them in the dehydrator.
Step 3: Spread Your Microgreens On the Dehydrator Tray
After preparing your microgreens, spread them on the dehydrator tray.
Step 4: Allow Your Microgreens To Dry
It will take between 3-6 hours for your microgreens to dry depending on the temperature.
When they are finished, you will notice that microgreens shrink significantly (about 1/3 of the fresh microgreens you put in the dehydrator) when dried. To see what microgreens look like after they have dried, watch the video below.
Step 5: Conditioning
The final step of dehydrating any fruit or vegetable is called conditioning. Conditioning is a process that involves testing your dehydrated microgreens to make sure they are free of all moisture. This prevents mold from forming on your dried microgreens. Simply allow your microgreens to cool after they come out of the dehydrator (or oven). Then place them in a sealed sandwich bag and leave the bag out overnight. The next day, open the bag and look/feel for any signs of moisture. If you find any signs of dampness/moisture, put the microgreens back into the dehydrator.
This is a step that many experienced dehydrators skip, but it is a good exercise.
Drying Microgreens In An Oven
If you do not own a dehydrator, you can still dry your microgreens using an oven! Pre-heat your oven to its lowest temperature setting. Then lay your microgreens on a cookie sheet and put the cookie sheet in the oven.
When dehydrating microgreens in an oven, you not only want to keep the temperature low, you want to keep the oven door open to create some air circulation. This ensure that moisture does not get trapped in the oven.
It will take your microgreens 1.5 to 3 hours to dry in an oven. Check your microgreens often to prevent scorching.
Drying Microgreens In An Air Fryer
Some air fryers can also be used to dehydrate microgreens. The air fryer needs to have a low heat setting and should have a good air ventilation system. Before attempting to dehydrate any food in an air fryer, make sure to check the manual. The Ninja AF101 Air Fryer is a good example of an air fryer with low-temperature dehydrating options.
Storing Dehydrated Microgreens
Dehydrated vegetables can be stored for 8-10 years if they are hermetically sealed and kept in a room with an average temperature around 70°F. Your microgreens could have an even longer shelf life if they are stored at cooler temperatures. This makes dehydrated microgreens excellent for emergency preparedness.
If you are storing your dried microgreens in a jar, you should try to use them within 1-2 months. After that, the nutritional value will begin to decline and the color will start to change.
What To Do With Dehydrated Microgreens
So what do you do with dehydrated microgreens? Despite not being a particularly well-known food, there are actually several ways to use dehydrated microgreens. Some of these potential uses are listed below:
- Spices for soups, salads, egg dishes, pastas, or sauces. This is particularly true for microgreens that have a bit of spice to them like radish microgreens.
- Add them to smoothies for an extra bit of nutrition.
- Make your own green powder.
- Garnishes
- Emergency food storage/prepping.