Self-sufficiency is the cornerstone of survival prepping and being able to supply your own food is a big part of self-sufficiency. Unfortunately, many people, such as those who live in cities or apartments, do not live in an environment that allows them to grow a big garden. The good news is that people who live in small spaces can still grow nutritious foods as part of their survival prepping.
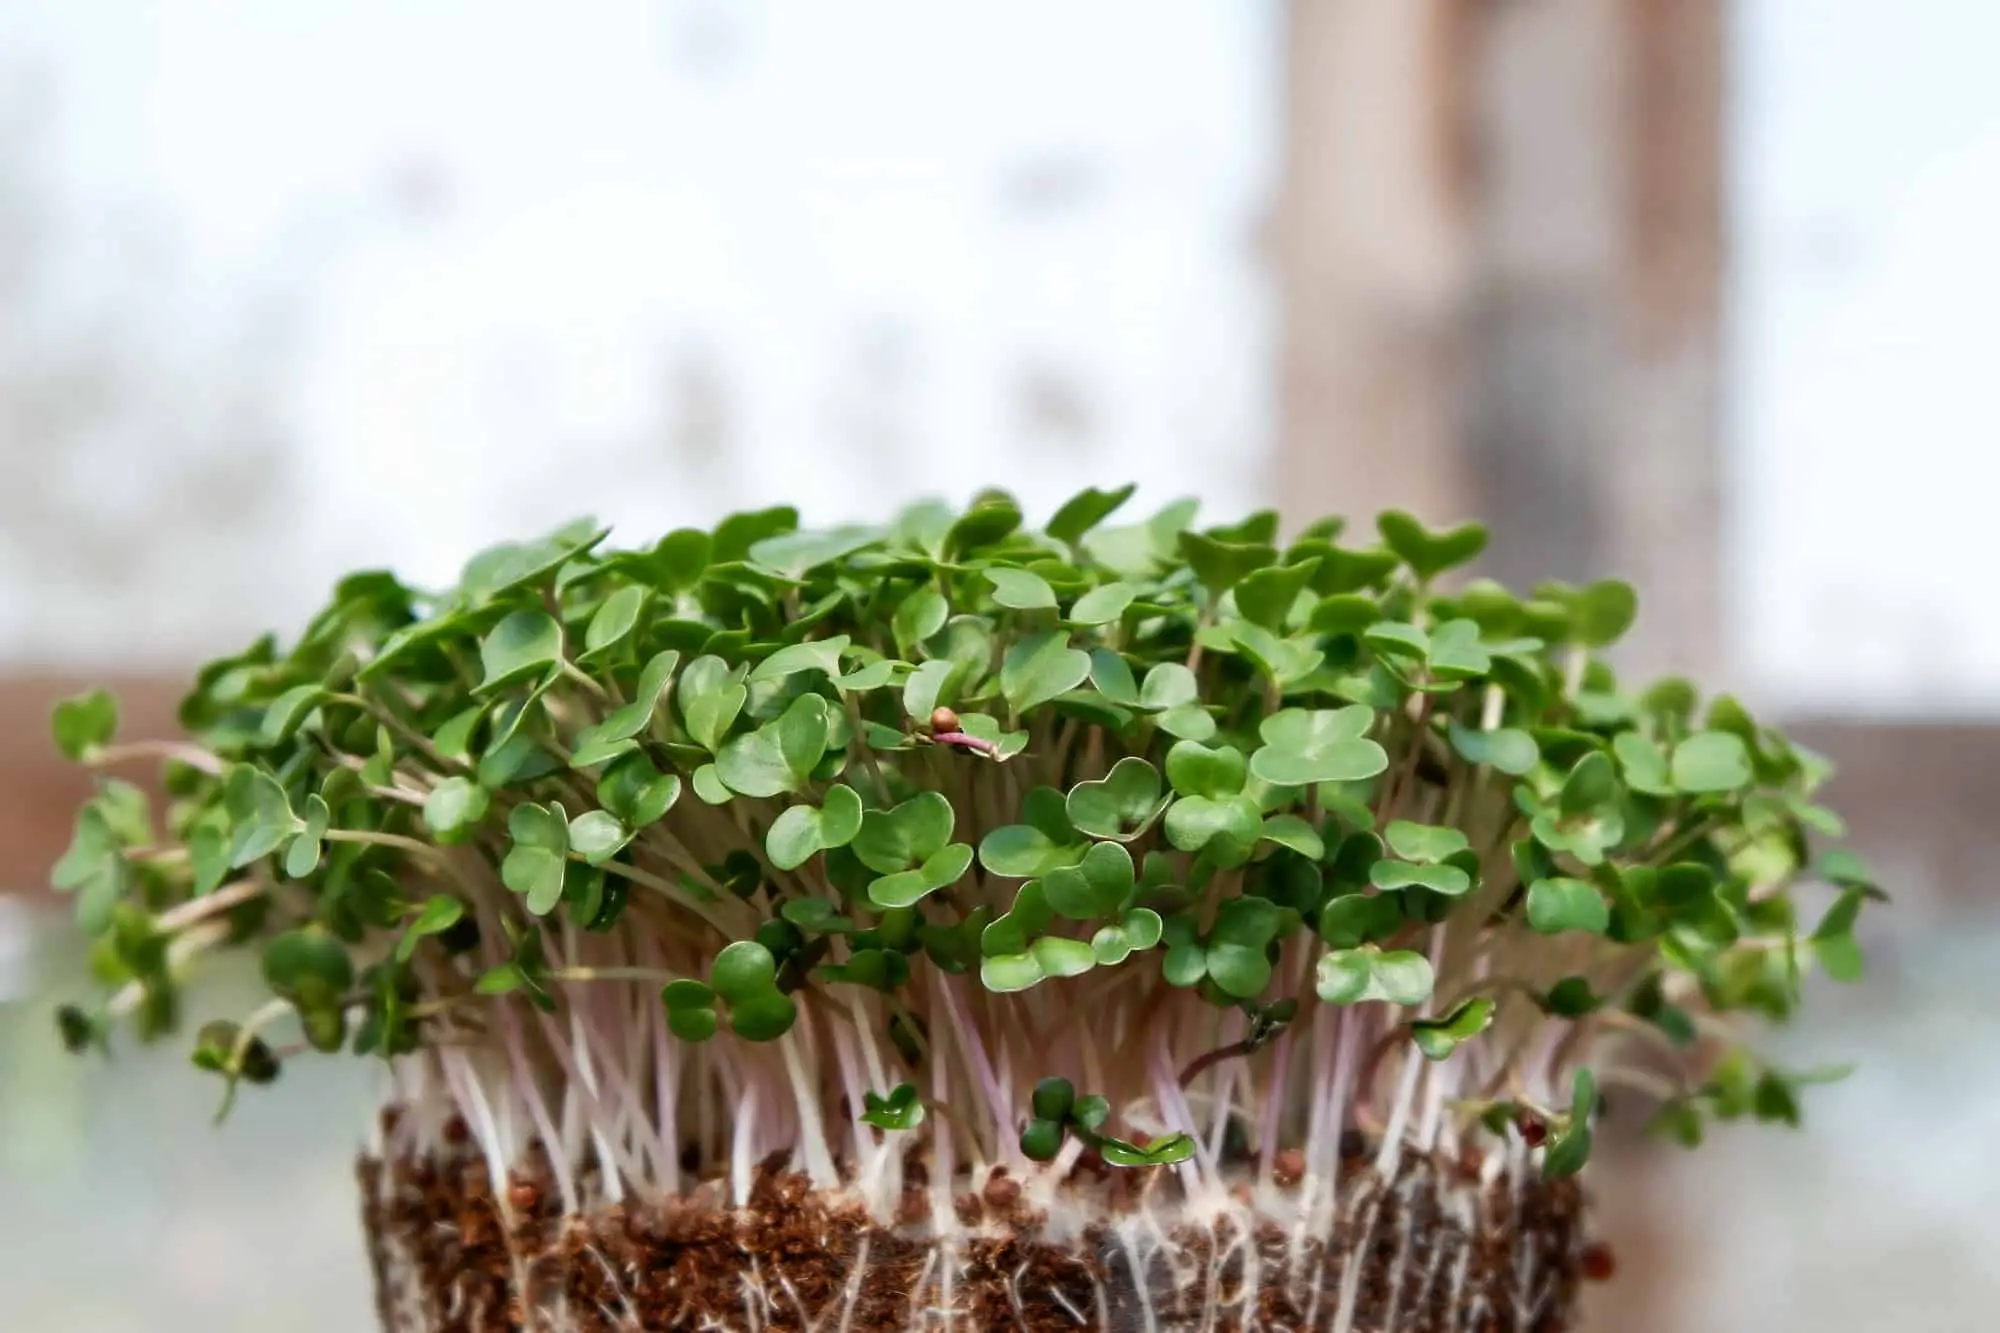
Microgreens are small, leafy vegetables that are great for prepping because they are extremely nutrient-dense. In addition, microgreens can be grown in small spaces, and they are ready to harvest within a couple of weeks. Finally, microgreens are good survival crops because they can be dehydrated for long-term food storage.
In general, growing microgreens is fairly easy. With a little research, you will be on your way to harvesting home-grown microgreens within a few weeks. The rest of this blog post will discuss (in further detail) why preppers should grow microgreens and the steps involved in growing microgreens.
What Are Microgreens?
Microgreens have become increasingly popular in recent times. Restaurants have been using microgreens since the late 1990s, but people are now learning to grow their own microgreens at home. Microgreens are leafy vegetables that can be defined as seedlings of edible plants that are harvested 6-30 days after planting (when the true leaves emerge).
The true leaves typically emerge 7-14 days post-planting. True leaves are the leaves that will photosynthesize, and they have the appearance of the mature leaves. Prior to the formation of true leaves, microgreens have cotyledon leaves (which are also known as seed leaves). Cotyledon leaves are actually part of the seed and do not provide a significant amount of energy to the leaves.
The following video published by the University of Illinois Extension describes the differences between cotyledon leaves and true leaves in further detail.
Microgreens grow best indoors and are a part of a global movement towards controlled environment agriculture (CEA) (Riggio, Jones, & Gibson, 2019). CEA is driven by the need to grow food in smaller spaces as urban areas continue to expand and the amount of arable land continues to shrinks. Being able to grow microgreens in small spaces is advantageous for preppers who may not have access to large amounts of land or for those who will need to plant food quickly during a crisis.
So what plants can be grown as microgreens? I’ve read several sources that indicate that any plant can technically be grown as a microgreen, but there are 12 plant families most commonly grown as microgreens. These are summarized in the table below.
| Family | Commonly Grown Microgreens |
|---|---|
| Alliaceae | chives, scallions, shallots, onions, garlic |
| Amaranthaceae | spinach, amaranth, beets, swiss chard, orach, and magenta spreen |
| Apiaceae | celery, cilantro, chervil, fennel, parsley, carrot, and dill |
| Asteraceae | lettuce, endive, sunflower, garland chrysanthemum, shungiku, tagetes (marigold) |
| Brassicaceae | mustards, cabbages, broccoli, cauliflower, radishes, tatsoi, wasabi, arugula, cresses, kohlrabi, mizuna, turnip, savoy, kale, komatsuna, pak choi, kogane, collard, nasturtium, brussel sprouts, rapini, rutabaga |
| Cucurbitaceae | cucumber |
| Fabaceae | sweet pea, alfalfa, fenugreek, adzuki, fava |
| Lamiaceae | mint, basil, chia, and lemon balm |
| Oxalidaceae | wood sorrels, clover |
| Poaceae | corn, lemongrass |
| Polygonaceae | buckwheat |
| Portulacaceae | claytonia, purslane |
The table above is certainly not an exhaustive list of the microgreens you can grow. To learn even more about different types of microgreens, check out my list of 101 Types of Microgreens.
Although there are many types of microgreens that you can grow, it is important to keep in mind that not all of them are easy or even practical to grow. Some types of microgreens, such as carrots or cilantro, take over a month to grow! A lot can go wrong during that time (e.g., disease, mold growth). Fast-growing, hardy microgreens are best for preppers. I will discuss the best types of microgreens to grow later in this article.
Microgreens vs. Sprouts
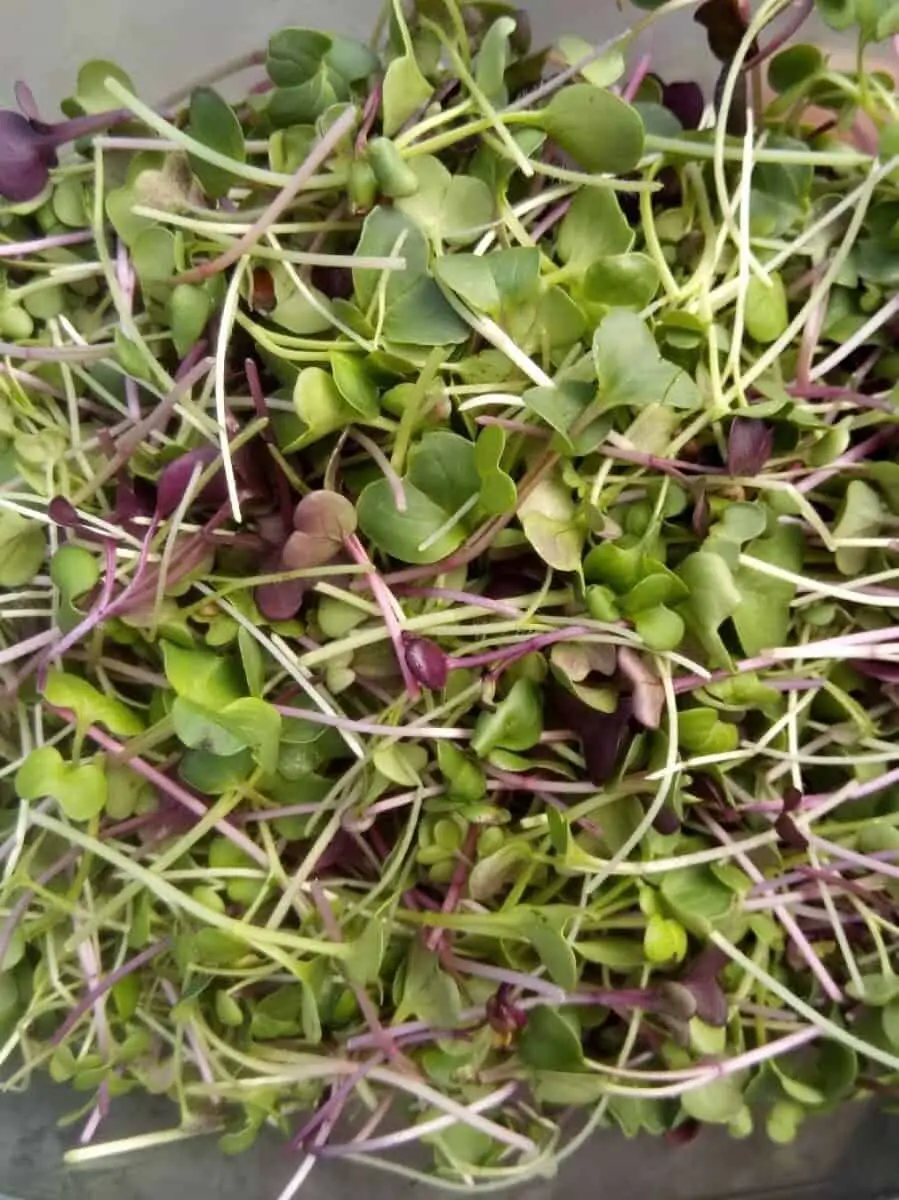
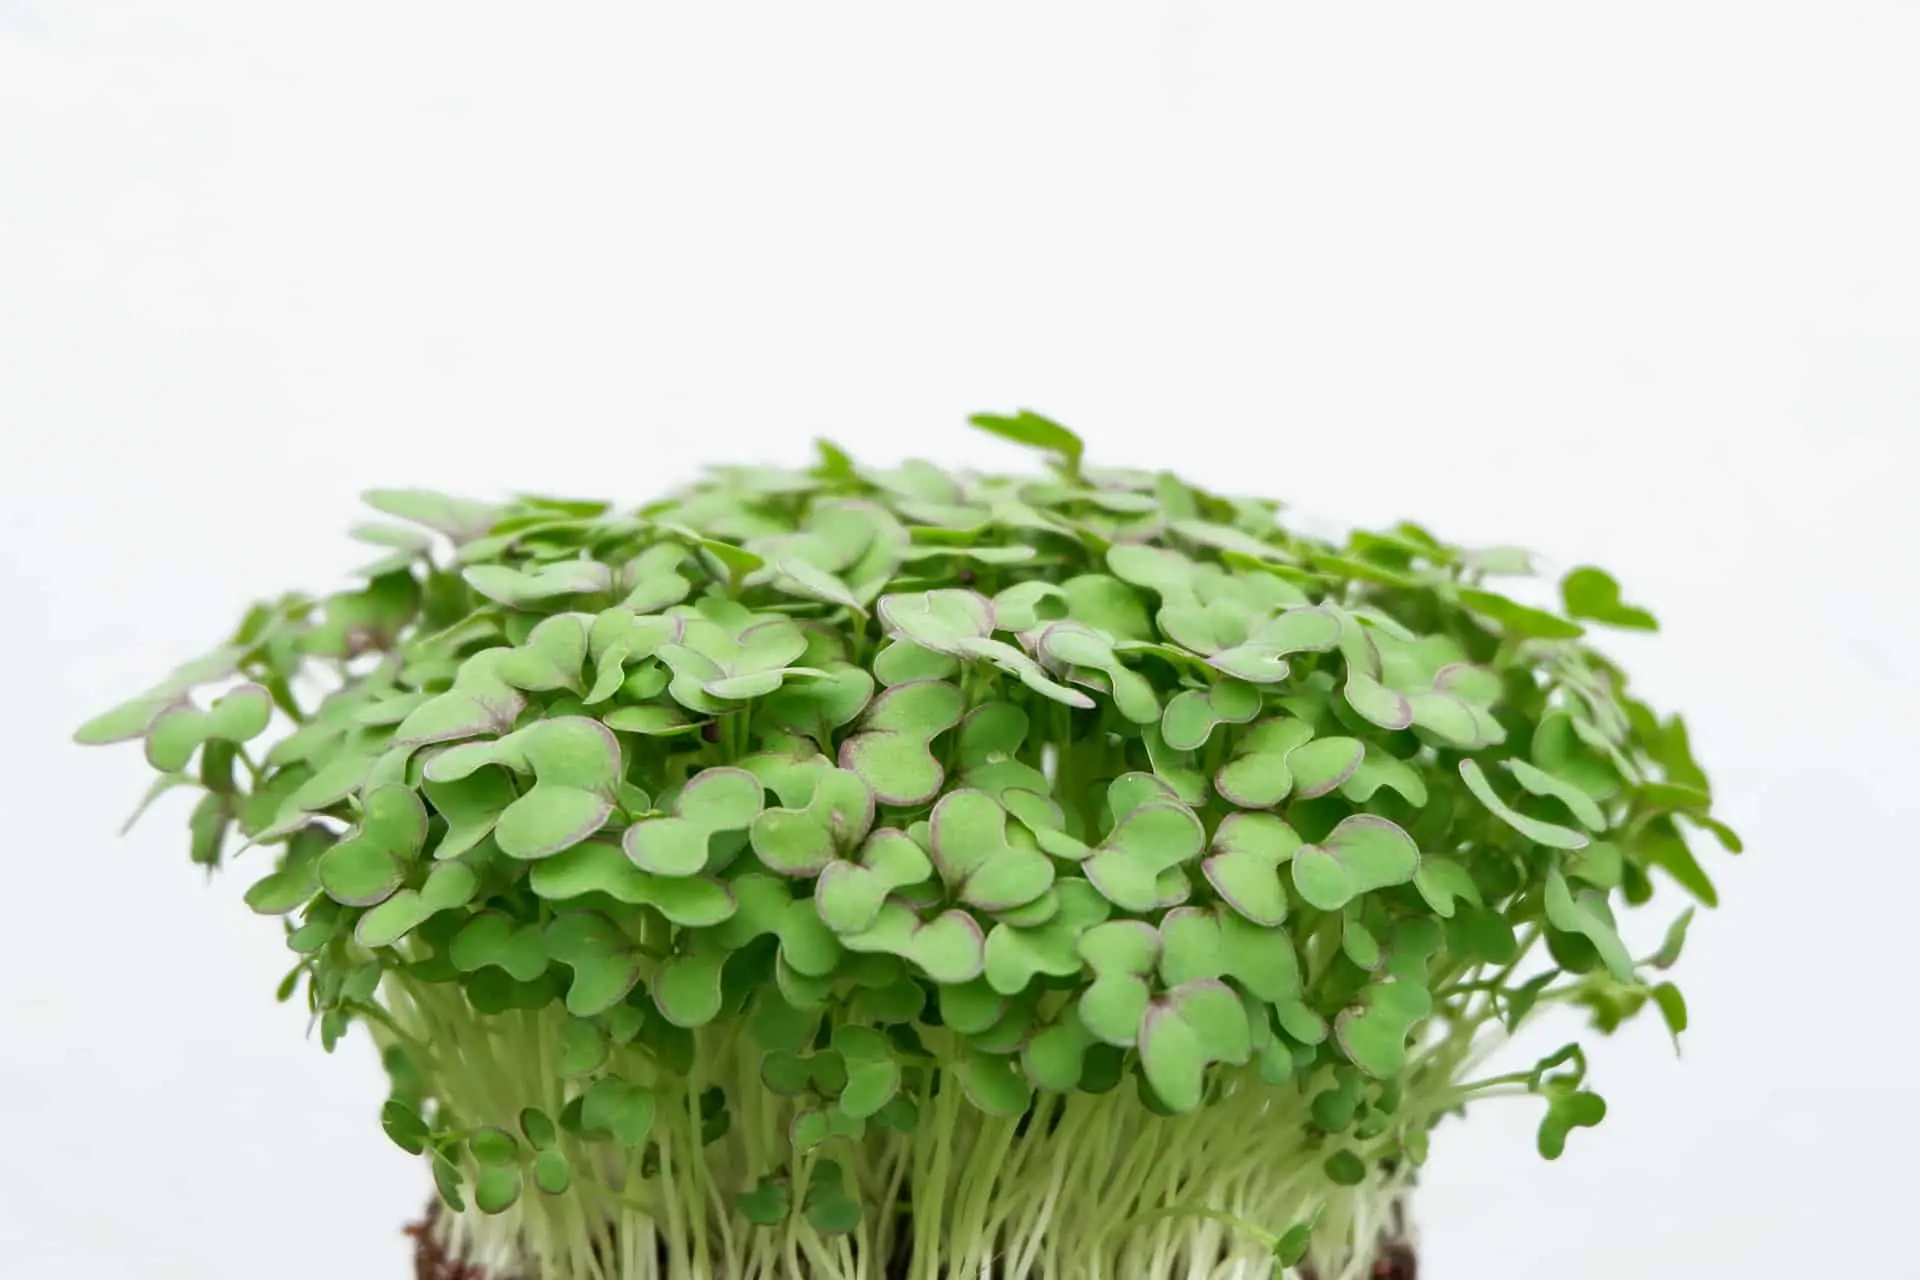
Microgreens 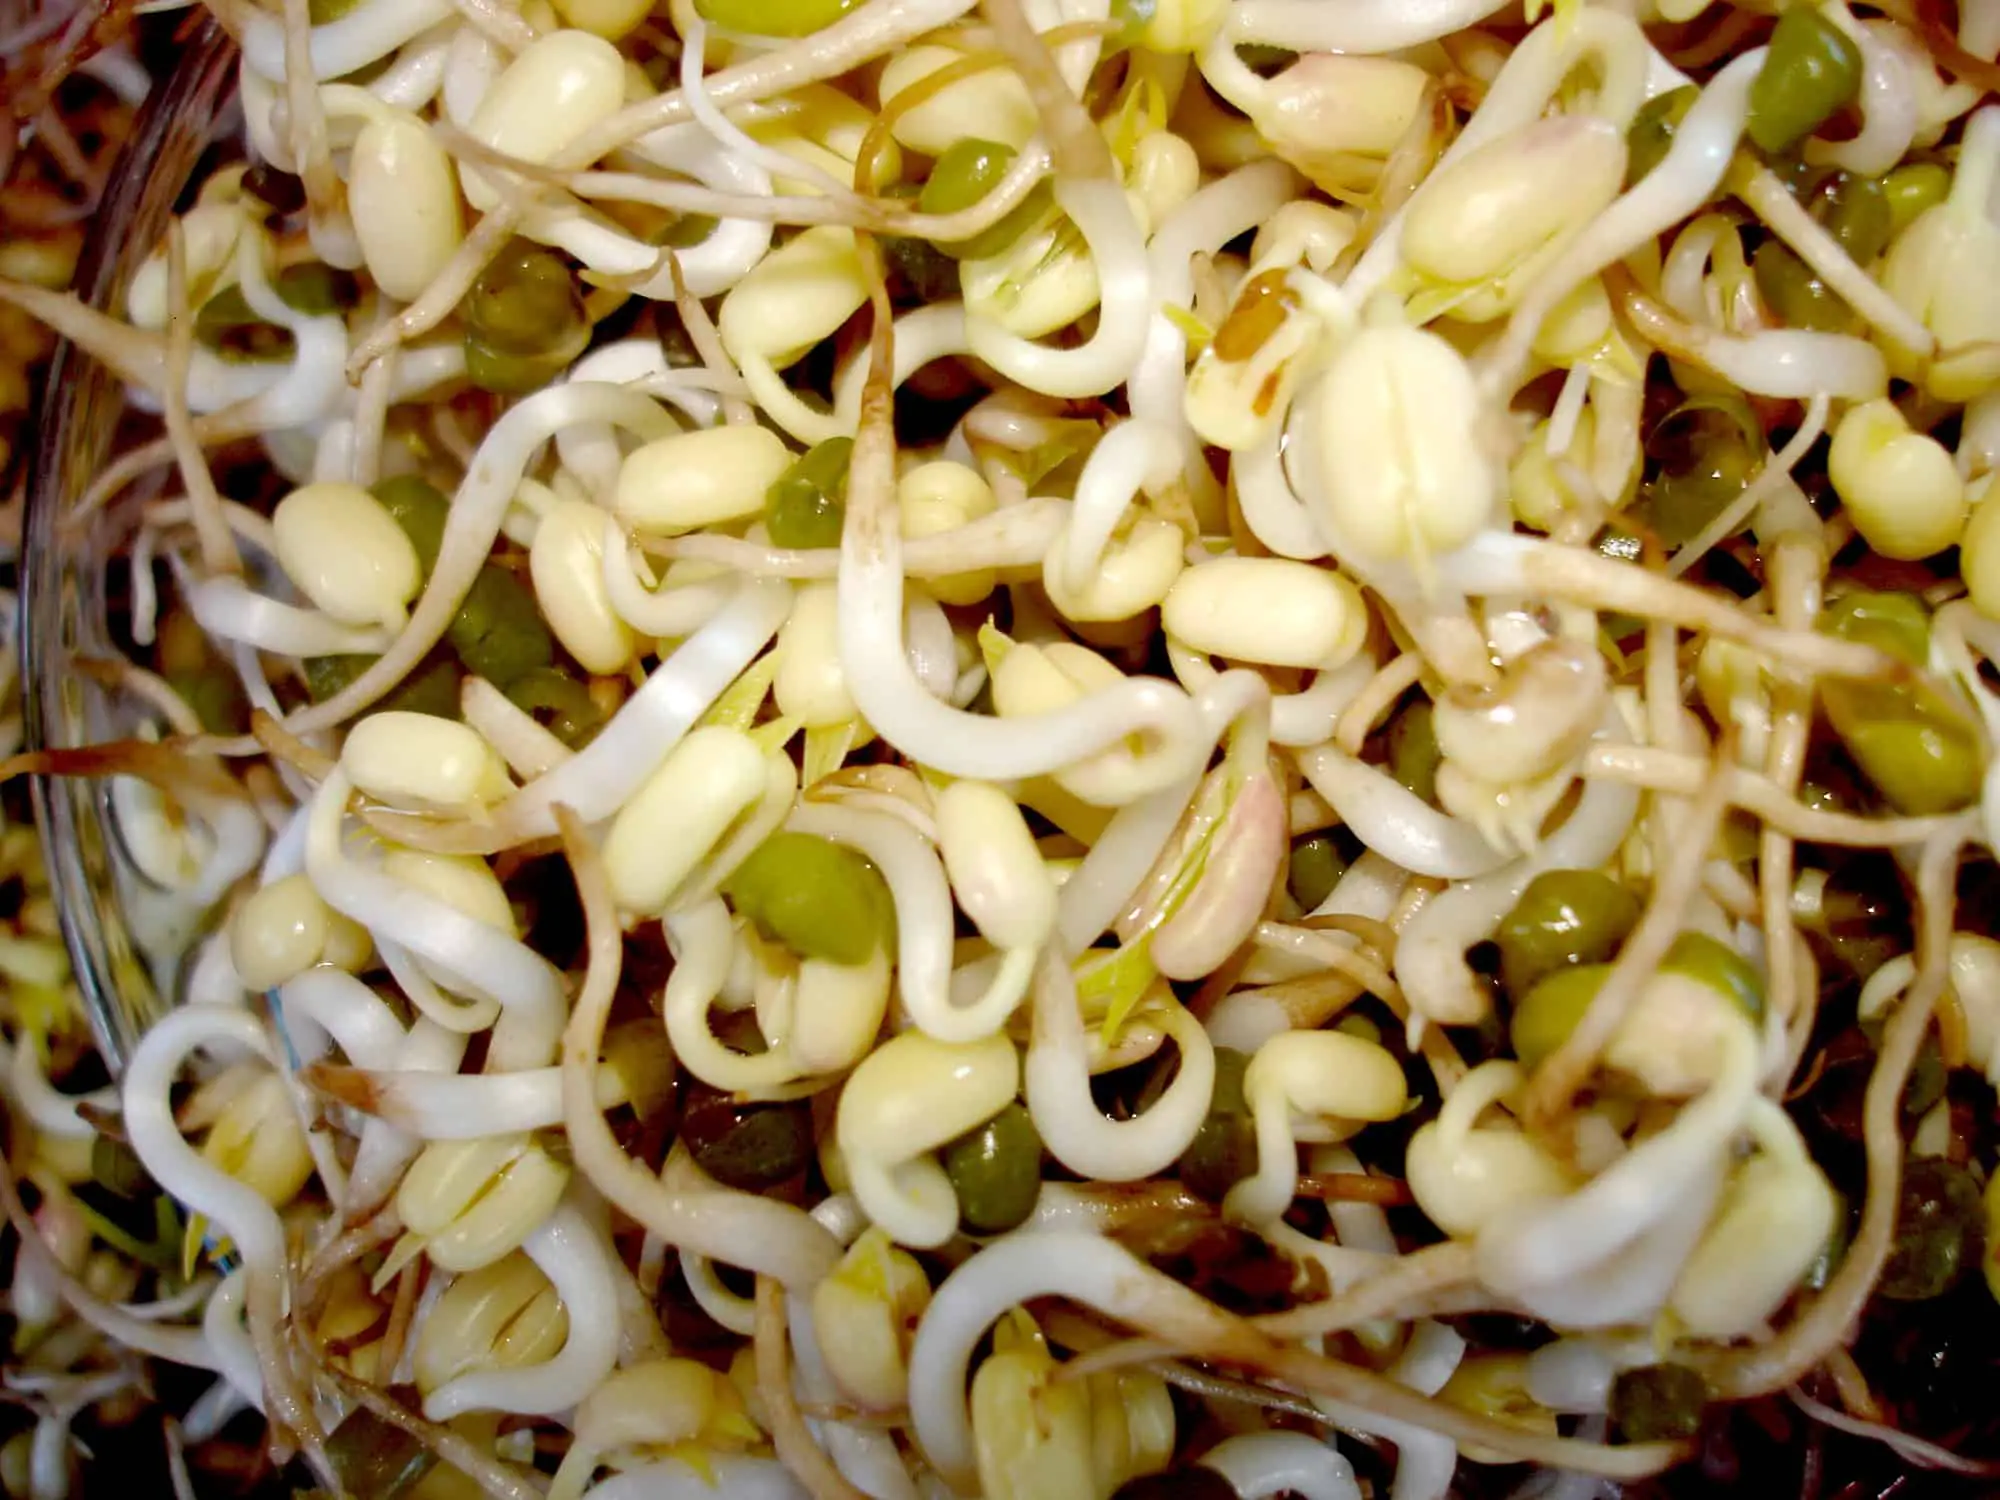
Mung Bean Sprouts
Microgreens are often compared to sprouts because they share many characteristics with sprouts. Like microgreens, sprouts can are ready to eat within a few days. While microgreens are small, leafy vegetables, sprouts are germinated seeds that have just put out sprouts (hence the name). They tend to have a crunchy texture that makes them great additions to soups and salads.
While sprouts can be another great survival food, they are a bit less nutritious than microgreens. In addition, sprouts tend to have less fiber than microgreens.
Food safety is another important consideration for preppers, and unfortunately, eating raw sprouts does pose a risk of foodborne illness. People have actually died after consuming raw sprouts contaminated with pathogens such as Salmonella. The risk of foodborne illness can be attributed to the dark, humid environment in which sprouts grow. Such an environment promotes bacteria growth.
The potential danger of eating raw sprouts is not theoretical. For example, the Food and Drug Administration (FDA) began an investigation of 39 cases of illness caused by red clover sprouts in February 2020. Microgreens are grown in a much safer environment and do not have as high of a risk of foodborne illness.
To learn more about the differences between sprouts and microgreens, check out this article I wrote on the differences between sprouts and microgreens.
Nutritional Value Of Microgreens
One of the most significant advantages of growing microgreens as a survival food is that they are packed with nutrients. Studies have shown that microgreens actually contain more nutrients than their mature counterparts. For example, a research study conducted by Dr. Qin Wang, who is an associate professor at the University of Maryland at College Park, showed that microgreens are 4 to 40 times more concentrated with nutrients than their mature counterparts. Scientists believe this is because the plant stores all of the nutrients it needs to grow in the cotyledon leaves before it starts to grow.
Microgreens are also an excellent source of phytonutrients, which are nutrients produced by plants. Phytonutrients have antioxidant and anti-inflammatory benefits. A research study conducted by Sun et al. (2013) profiled five types of microgreens and found 165 phenolic compounds comprising many highly glycosylated and acylated quercetin, kaempferol, cyanadin aglycones, and complex hydroxycinnamic and benzoic acids.
The following table summarizes the findings of other research studies investigating the nutrient profiles of other types of microgreens.
| Research Study | Findings |
|---|---|
| Xiao et al. (2016) | Brassica microgreens are good sources potassium, calcium, iron, and zinc |
| Xiao et al. (2019) | Brassica microgreens are moderate to excellent sources of ascorbic acid, phylloquinone, carotenoids, tocopherols, glucosinolates, and polyphenols |
| de la Fuente et al. (2019) | Cauliflower, rapini, red radish, China rose radish, and ruby radish microgreens were found to have the greatest contents of total ascorbic acid, phylloquinone, total tocopherols, total glucosinolates, and TPC, respectively |
| Kyriacou et al. (2019) | Basil and swiss chard microgreens are excellent sources of potassium and magnesium. Purple basil is particularly high in ascorbic acid while green basil and coriander were especially good sources of beta‐carotene and total polyphenols. |
| Pinto et al. (2015) | Lettuce microgreens (Latuca sativa var. capitata; 2‐week old) have a higher content of most minerals (Ca, Mg, Fe, Mn, Zn, Se, and Mo) than mature lettuce (10‐week old) |
Studies have also shown that microgreens are effective in preventing diet-based diseases such as diabetes, cardiovascular disease, obesity, type 2 diabetes, and cancer. Huang et al. (2016) found that red cabbage microgreens reduced weight gain and lowered low‐density lipoproteins (LDL) cholesterol levels in mice that are fed a high-fat diet.
Best Microgreens For Preppers
As previously mentioned, there are many types of microgreens, so it can be difficult to choose which one(s) to grow! I recommend that preppers and/or beginners grow microgreens that are hardy, have a high germination rate, and are ready to harvest within two weeks of planting. This will ensure that you are getting the maximum benefit from your seeds. In addition, shorter growing times will minimize the chance of mold and disease problems.
I have described some microgreens that would work well for preppers below.
Radish Microgreens
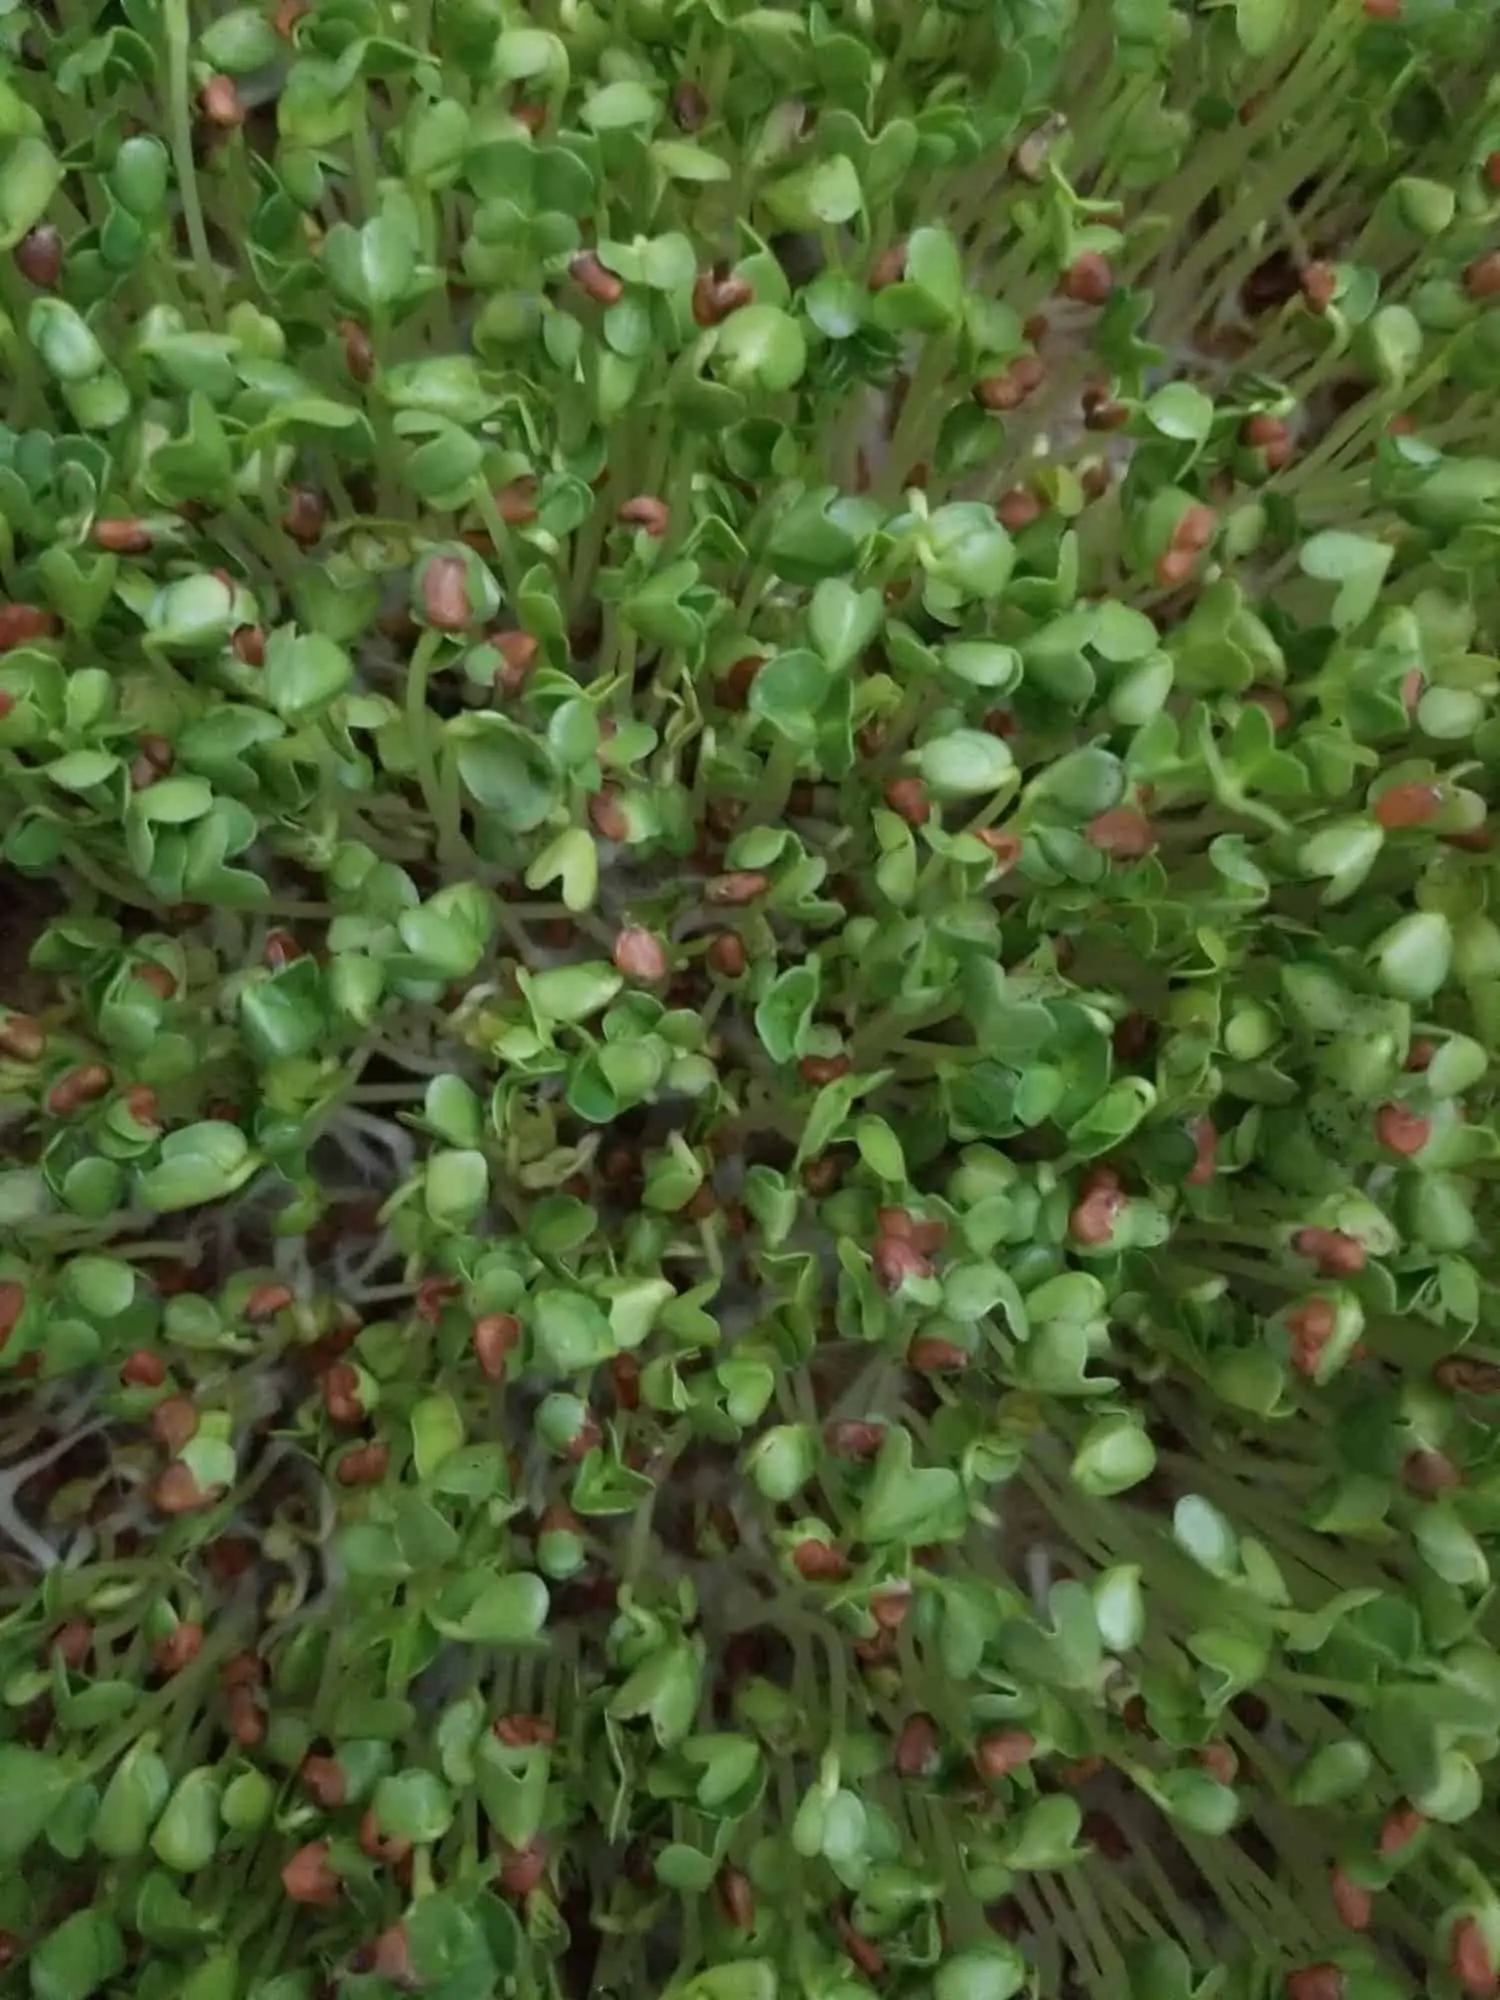
Radish microgreens are one of the best microgreens for new microgreen growers. They are not fussy, germinate quickly, and are delicious. Radish microgreens have a spicy, peppery flavor and taste like a more intense version of a mature radish bulb.
Another advantage of growing radish microgreens is that the seeds are easy to handle. Unlike sunflower or pea seeds, radish microgreens do not need to soak in water before planting. I have tried soaking the seeds before sowing, and the seeds did not seem to germinate more quickly.
Radish microgreens can be grown in soil or hydroponically and have a blackout period of 2-3 days. A blackout period is important for proper germination.
To learn more about growing radish microgreens, check out my article on how to grow radish microgreens.
Sunflower Microgreens

Sunflower microgreens are probably one of the most popular types of microgreens. They have a fresh, nutty flavor and are ready to harvest 7-10 days after planting seeds.
Unlike radishes, sunflowers have large seeds. Microgreens grown from plants with larger seeds should be grown in soil. I have experimented with growing pea shoots (another microgreen grown from large seeds) on a growing mat, and the microgreens did grow to an acceptable height. However, it was obvious that the root “wanted” to grow deeper. All that to say, you can grow sunflower microgreens hydroponically if necessary, but they do better in soil.
Large seeds also germinate more quickly when they are soaked in water for 8-12 hours. This helps to break down the seed coat so the plant can break through and germinate.
To learn more about growing sunflower microgreens, check out my article on how to grow sunflower microgreens. This article is an illustrated guide that shows you how to grow sunflower microgreens step-by-step.
Pea Shoots
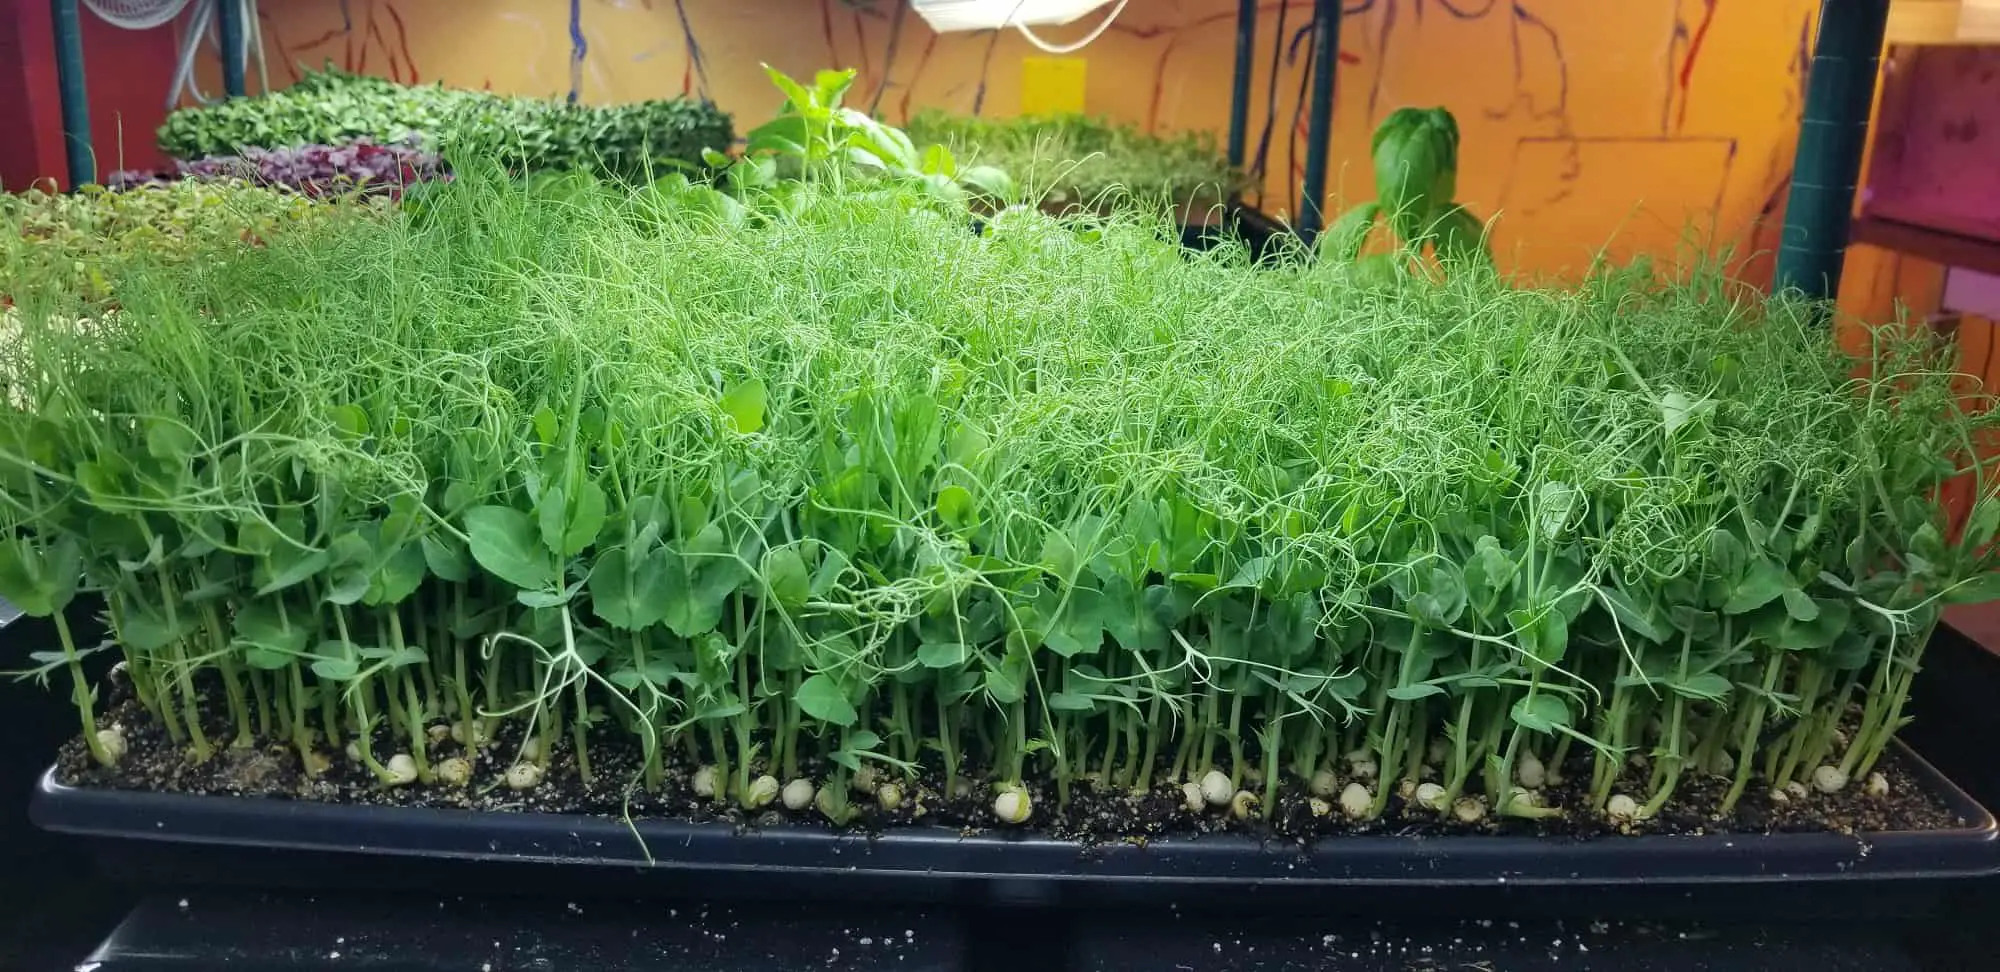
Pea shoots are another very popular type of microgreen. They have a fresh, broccoli flavor. As previously mentioned, pea shoots are grown from large seeds. For this reason, they are grown in soil and should be soaked for 8-12 hours prior to planting the seeds.
Pea shoots are ready to harvest 12-16 days after sowing the seeds.
Cabbage Microgreens
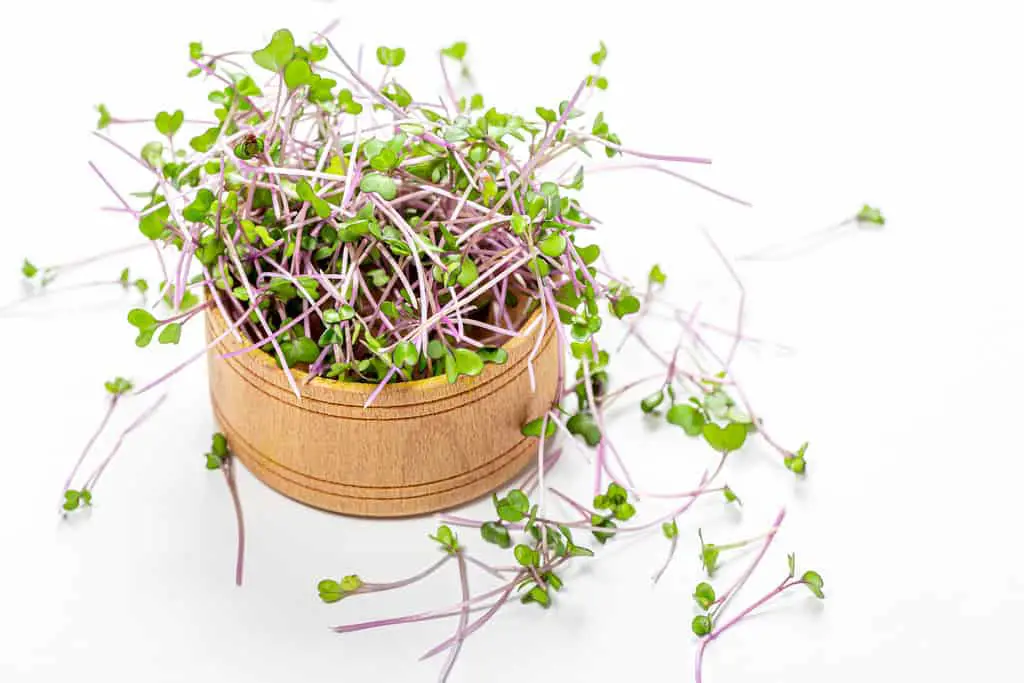
Cabbage microgreens is a term that refers to red cabbage microgreens, bok choy microgreens, and pak choi microgreens. Cabbage microgreens grow quickly and do well in the soil as well as hydroponic growing mediums. They are ready to harvest within 6 to 14 days after planting.
While all microgreens are nutritious, research has shown that cabbage microgreens are among the most nutritious microgreens. For example, Xiao et al. (2012) found that cabbage microgreens have very high levels of ascorbic acid, which is also known as Vitamin C. Cabbage microgreens are also high in antioxidants. However, Polash, Sakil, and Hossain (2018) found that antioxidant activity degrades quickly after harvest. For this reason, it is best to eat cabbage microgreens immediately after harvest.
How To Grow Microgreens
This section will discuss the materials needed to grow microgreens as well as the steps for growing microgreens.
Microgreen Growing Supplies For Preppers
One reason microgreen growing is a great hobby is that it does not require a lot of supplies. There are also many opportunities to re-purpose what you have in order to save money on supplies. For example, one could use a takeout container to grow microgreens rather than purchasing expensive growing trays.
- Growing Trays – The most common size of a growing tray is 1020 (10″ x 20″). If you are only growing microgreens for one or two people, it may be better to use smaller growing trays (10″ x 10″). You can use almost any container as a growing tray. Some examples include takeout containers, Tupperware, or casserole dishes.
- Seeds – It is important to purchase food-grade seeds to avoid toxic chemicals that are often used to make bird seeds or other seeds not meant for human consumption. Seeds are probably the most expensive aspect of growing microgreens. I suggest buying seeds in bulk to make seeds more affordable.
- Growing Medium – The growing medium will depend on the type of microgreen you are growing. Examples of growing mediums include soil, coco coir, and hemp growing mats. A more affordable alternative to hydroponic growing mats is burlap.
- Heating Mat to improve germination. A heating mat is optional.
- Sharp scissors for harvesting.
Lighting Systems For Microgreens
A sunny window will provide adequate lighting if you are planning to grow one or two microgreen trays at a time. However, if you plan to grow several trays of microgreens, you will probably need to supplement this natural lighting with artificial lighting. When selecting a lighting source, it is important to consider lighting quality.
Light quality affects many aspects of plant growth such as color, flavor, and nutrition (Kyriacou et al., 2016). Red and blue light is more effective than white light in regulating plant metabolism (Alrifai et al., 2019). Samuolienė et al. (2012) found that supplementing High-Pressure Sodium (HPS) lamps with short‐term red light-emitting diode (LED) lighting altered the antioxidant properties of several types of microgreens. Blue light is arguably even more important to microgreen growth than red light. Kopsell and Sams (2013) found that applying blue LED light to broccoli microgreens five days prior to harvest resulted in more resulted in significantly more carotenoids, glucosinolates, and minerals than applying a combination of red and blue light.
Many microgreen growers have seen great success using T5 and T8 fluorescent lights. In general, T5 grow lights are better because they produce more light and use less electricity. Color temperature is also an important consideration when purchasing T5 or T8 lights. I recommend using 6500k T5 lights because they emit more blue light.
Steps For Growing Microgreens
The process for growing microgreens is listed below.
- Compile your materials.
- Sanitize your growing tray with warm, soapy water. If you want to be extra thorough, spray the tray with a hydrogen peroxide solution. After ten minutes, rinse the hydrogen peroxide solution off of the growing tray. Finally, use a clean cloth to dry off the tray.
- If applicable, soak your seeds for 8 to 12 hours.
- Soil – Fill your growing tray with sterile soil (if applicable). The soils should be no more than 2 inches deep. Lightly spray the soil surface with water.
- Hydroponics – If you are using a growing mat, pour water into your growing tray. Then place your growing mat on the water surface and allow it to absorb water. Tilt the tray and pour out any excess water.
- Evenly spread your seeds over the soil or growing mat (see seeding density guidelines shown below).
- Place the growing tray on the heating mat (optional) and cover the seeds with another growing tray for 2-3 days depending on the suggested blackout period for the type of microgreen you are growing.
- After the blackout period, place your growing tray under your grow lights or by a sunny window. Your microgreens may have an unappealing yellow color at this stage. This is because the plants have had not the opportunity to perform photosynthesis in order to produce chlorophyll. The plants should green up in a day or two. Check your microgreens every day until it is time to harvest and water when necessary.
- Your microgreens will be ready to harvest 6 to 28 days after sowing depending on the type of microgreens you are growing. To harvest, cut the microgreens about an inch above the soil level or growing mat.
- Wash microgreens before consuming them. Simply rinse the microgreens off under the sink. Then pat the microgreen dry.
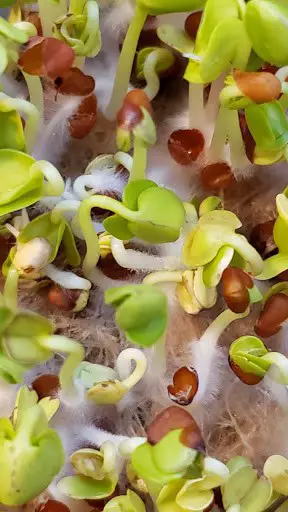
Root Hairs vs Mold
During the course of the microgreen growing process, you may notice little white hairs on your microgreens. At first glance, you may think these little hairs are mold. However, it is more likely that these little hairs are root hairs. Mold will look like a spiderweb. In contrast, root hairs look like little fuzzy hairs growing from the stems of your microgreens.
Preserving Microgreens
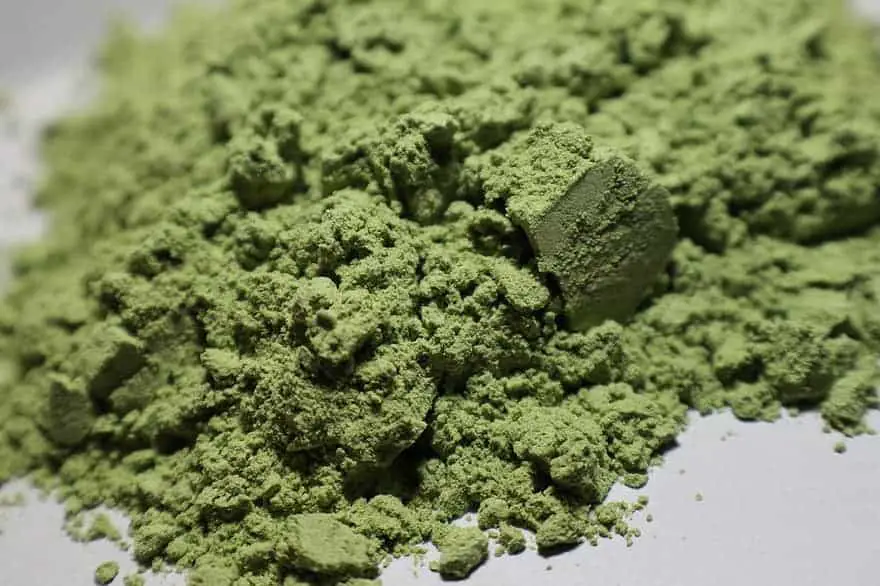
One of the most challenging aspect of growing microgreens (for preppers) is preserving your food. While microgreens grow quickly, they do not last very long once they are ready to eat. In general, people do not think of microgreens as a good crop for long-term food storage. But there is a way to preserve these leafy greens for several years.
I have researched many ways to research microgreens because microgreens do not last very long, and I often grow more microgreens than my husband and I could eat in a week. After hours of research, I have concluded that dehydration is the best way for preppers to preserve microgreens. Dehydration is a fairly easy process that allows preppers to add nutritious green powder to their long-term food storage.
Dehydrated microgreens will retain their nutrients for a long time and can last for 8-10 years if stored in a cool place! In addition, dehydrated microgreens can add a punch of flavor to soups and other bland foods. For these reasons, you should consider adding some dehydrated microgreens to your food storage.
To learn more about dehydrating microgreens, check out this article I wrote on dehydrating microgreens.
Related Questions
Can microgreens be grown outdoors?
Microgreens can be grown outdoors, but it is more difficult than growing microgreens indoors. However, it is possible to grow microgreens outside in mild weather. Microgreens should not be exposed to hot, direct light. In addition, growing microgreens outside poses additional challenges to growing microgreens such as potential pest and disease problems.
To learn more about growing microgreens outdoors, check out my article on growing microgreens outdoors.
Will microgreens regrow after cutting?
Some types of microgreens, such as pea shoots, will regrow after cutting. However, it is generally not worth trying to regrow them because it takes less time to grow a new tray of microgreens. In addition, the second harvest of microgreens will be more fibrous and less flavorful than the first harvest of microgreens. Finally, regrown microgreens tend to be less nutritious than the first harvest of microgreens.
To learn more about regrowing microgreens, check out this article on regrowing microgreens.
Learn More About Microgreens
To learn more about growing microgreens, check out my Ultimate Guide To Growing Microgreens. This blog post will tell you everything you need to know to get started growing microgreens.