Growing microgreens is generally considered to be relatively simple. However, there are certain things that can go wrong. You can read about the most common mistakes microgreen growers make in my article entitled 13 Mistakes To Avoid When Growing Microgreens.
Sometimes you will perform a routine check on your microgreens only to find that they have fallen over. This often happens in a very short period of time (overnight). So how does a perfectly healthy tray of microgreens suddenly start to wilt/fall over?
If you find that your microgreens have fallen over, do not panic. It is highly likely that you may be able to remedy the situation. In general, microgreens will start to fall over if they are not being grown in favorable conditions. Some of these conditions are described in further detail below.
1. Lack of Water
The most likely reason that your microgreens are falling over is the lack of water. If you water your microgreens, you will see them pop back up in as little as one day.
When plants do not receive enough water they lose turgor. Turgor pressure is the force within the plant cells that causes the membrane to push against the cell wall. Plant cells need turgor pressure to remain rigid and sturdy. When a plant’s cells do not have enough water, they lose turgor and become more flaccid or wilt.
If you are maintaining a consistent watering schedule, remember that microgreens require more water as they grow. For this reason, you should check your microgreens at least once a day to see if the tray needs water. If you are growing your microgreens in soil, the soil should be moist (but not soaking wet).
When watering your microgreens, it is also important to make sure that you are watering your growing tray evenly. This is particularly important if you are growing your microgreens hydroponically. If you are using a growing mat, tilt the tray back and forth to wet the entire mat.
It is also important to research the water requirements of the type of microgreen you are growing. Some species, such as Dun pea, require significantly more water than other types of microgreens.
2. Overseeding
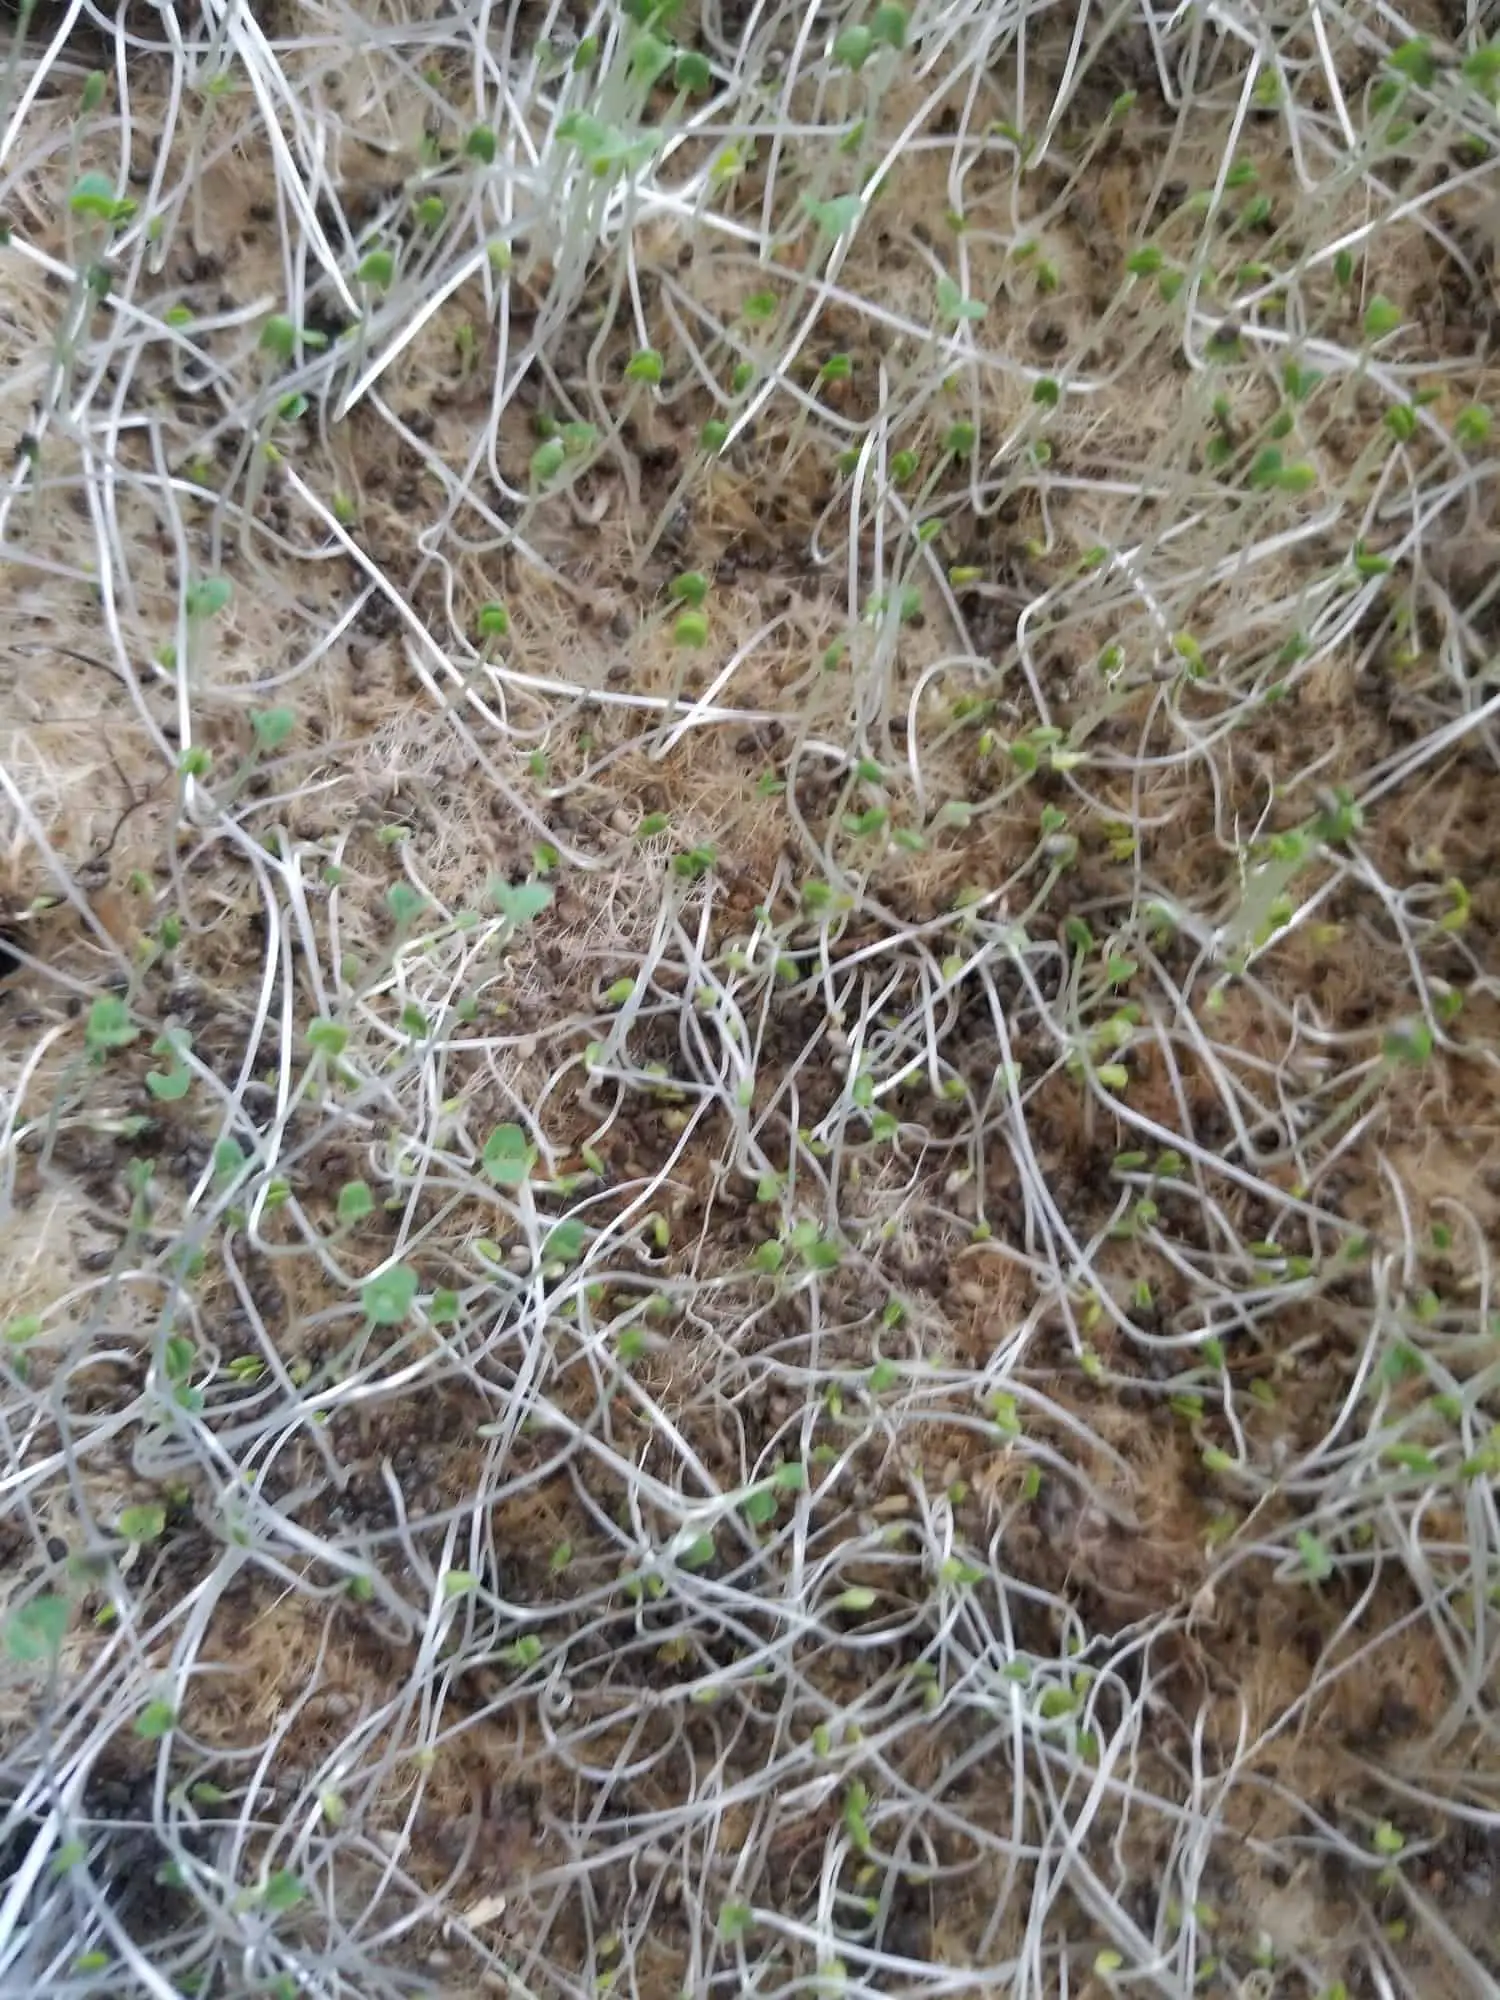
Microgreens are typically grown densely in a small area. However, overseeding can cause microgreens to fall over.
Overseeding can have several adverse impacts on your microgreens. For example, overseeding can cause late germination which in turn can cause your microgreens to fall over. In addition, overseeding will cause the microgreens to be too densely packed together once they are grown. This can result in poor air circulation which promotes mold growth.
So what is a good seeding density? An appropriate seeding density depends on a variety of factors including the type of microgreen and the growing conditions. For example, seeding density is typically lower in warm, humid conditions in order to minimize the chance of mold.
What about a low seeding density?
I have read several articles and posts that claim microgreens will fall over if the seeding density is too low. Healthy microgreens have strong stems that can support the weight of the seed embryo. In other words, healthy microgreens do not have to rely on other microgreens to hold them up.
3. Top-Watering
Another reason that your microgreens might be falling over is that you are top-watering. Once your microgreens germinate, it is important to water your microgreens from the bottom. This is because water pressure from top-watering can cause microgreens to fall over.
Watering microgreens from the bottom is fairly straight forward when you are growing your microgreens hydroponically. Simply lift the growing mat and add water to the growing tray. Then lower the growing mat back on to the tray.
If you are growing your microgreens in soil, watering from the bottom requires a little more creativity. Plant your microgreens in a tray with drainage holes. Then put the microgreen tray in another tray without drainage holes. The plants will wick water up from the bottom tray. When using this method, it is important to replace the water in the bottom tray regularly.
4. Not Enough Light
Another reason that your microgreens might be falling over is that they are not getting enough light. If your microgreens are not able to manufacture enough food through photosynthesis, they will decline. Microgreens that do not receive enough light will have a leggy/spindly appearance.
Once your microgreens have sprouted, they need to be exposed to at least 4 to 8 hours of light each day. Sunlight is the cheapest and easiest way to meet this light requirement. If you can, place the growing tray in front of a window that receives plenty of sunlight. A south-facing window works well, but a west-facing window will work well for most species of microgreens.
Use grow lights if you cannot place your growing tray next to a sunny window. There are many grow lights available that would work well for microgreens. T5 grow lights tend to work well and are more affordable than a lot of other options. If you are only growing one or two trays of microgreens at a time, a dual-head grow light from Amazon ($20-$40) will work well.
The amount of time you keep your microgreens in the dark when they are germinating also affects their ability to grow strong stems.
The longer you keep microgreens in dark conditions, the thinner their stems become. Unfortunately, microgreens may not be able to grow as well if you forget to take your microgreens out of their “blackout period” at the appropriate time. The embryonic starch content will not be high enough for the plant to grow thick, strong stems. The thinner stems can cause the microgreens to fall over.
The blackout period depends on the type of microgreen you are growing. For example, broccoli and kale microgreens only need to be placed in the dark for 2-3 days. In contrast, thyme and oregano require a blackout period of 5-8 days.
It is important to note that there are a few types of microgreens that are kept in a dark environment during their entire growth cycle. This is referred to as etiolation. Etiolated microgreens will not be green because they did not have the opportunity to photosynthesize. Some examples of microgreens commonly grown this way include popcorn shoots and golden pea tendrils. In my experience, these types of microgreens do not fall over even though they are not exposed to light.
5. Too Much Heat
During the summer, you have probably noticed that flowers and other plants begin to wilt on hot days.
This phenomenon is caused by increased rates of evapotranspiration. Evapotranspiration is a term the describes evaporation of water from the growing medium and the loss of water through the plant stomata. Higher temperatures the rate of evapotranspiration to increase. Plants will begin to wilt or fall over when the rate of evapotranspiration outpaces the ability of the roots to supply the rest of the plant with water.
Like other plants, microgreens will also fall over or wilt when they are exposed to high temperatures. Often times, this occurs when a grow light is too close to the plants.
Your grow lights should be 12-24 inches away from the top of your microgreens. Microgreens should be 24 inches away from incandescent grow lights, and they should be 12 inches away from fluorescent grow lights. Finally, microgreens should be about 6 inches from LED grow lights.
6. Damping Off
Damping off is a common disease that infects not only microgreens but many horticultural plants. It is a fungal disease that attacks the roots of plants. Damping off is typically the result of wet conditions.
In addition to your microgreens falling over, you may see other symptoms that indicate your microgreens are suffering from damping off. For example, the leaves may appear waterlogged or mushy. You may also see a white substance that sort of looks like a spiderweb on infected areas.
In general, providing your microgreens with proper growing conditions will prevent damping off. Make sure your microgreens are getting enough light and have enough room to grow. As previously discussed, overseeding can adversely impact microgreen growth. It is also important to water your microgreens properly. Finally, make sure you are planting your microgreens in fresh potting soil.
7. Overwatering
Previously, I said the most common cause of microgreens falling over is underwatering. However, overwatering can be a problem as well.
Overwatering can also cause rot and can result in the roots not getting enough oxygen. This makes the microgreens susceptible to other diseases. These diseases and lack of oxygen can cause the microgreens to decline and start to fall over.
To prevent overwatering, make sure your growing tray has drainage holes (if you are growing in soil). In addition, make sure you keep the soil moist rather than soaking wet. When you press your thumb in the soil, it should feel spongy. Water should not collect around your thumb.
8. Humidity
During the winter, your home can become rather dry depending on your geographic location. If you are having issues with your microgreens falling over or wilting, try keeping the humidity around 40% to 50% in the growing area. There are several benefits to doing this. First, you may need to water less frequently when your microgreens are grown in a more humid environment. In addition, your microgreens will be crisper and fresher when grown in a more humid environment.