If you are looking for a new hobby, growing microgreens is a great choice. Growing microgreens is inexpensive and allows you to grow your own nutrient-rich food in small spaces. Radish is probably the best type of microgreen for first-time growers because they are fast and easy to grow. The seeds germinate quickly, and radish microgreens are easy to harvest. This type of microgreen is also forgiving of overseeding and watering.
You can grow radish microgreens in soil or hydroponically. However, they tend to do a little better when grown hydroponically. Radish microgreens grow quickly and are ready to harvest 8 to 12 days after sowing the seeds. To grow radish microgreens, you use the same seeds as you would for growing radish bulbs.
This blog post will provide you with the information you need to get started growing radish microgreens.
What Are Microgreens?
Microgreens are small, leafy vegetables that are harvested during the early stages of a plant’s growing cycle. They are harvested just after the cotyledon leaves develop. Cotyledon leaves, which are also known as seed leaves, are the first leaves to appear from a germinating seed.
About Radish Microgreens
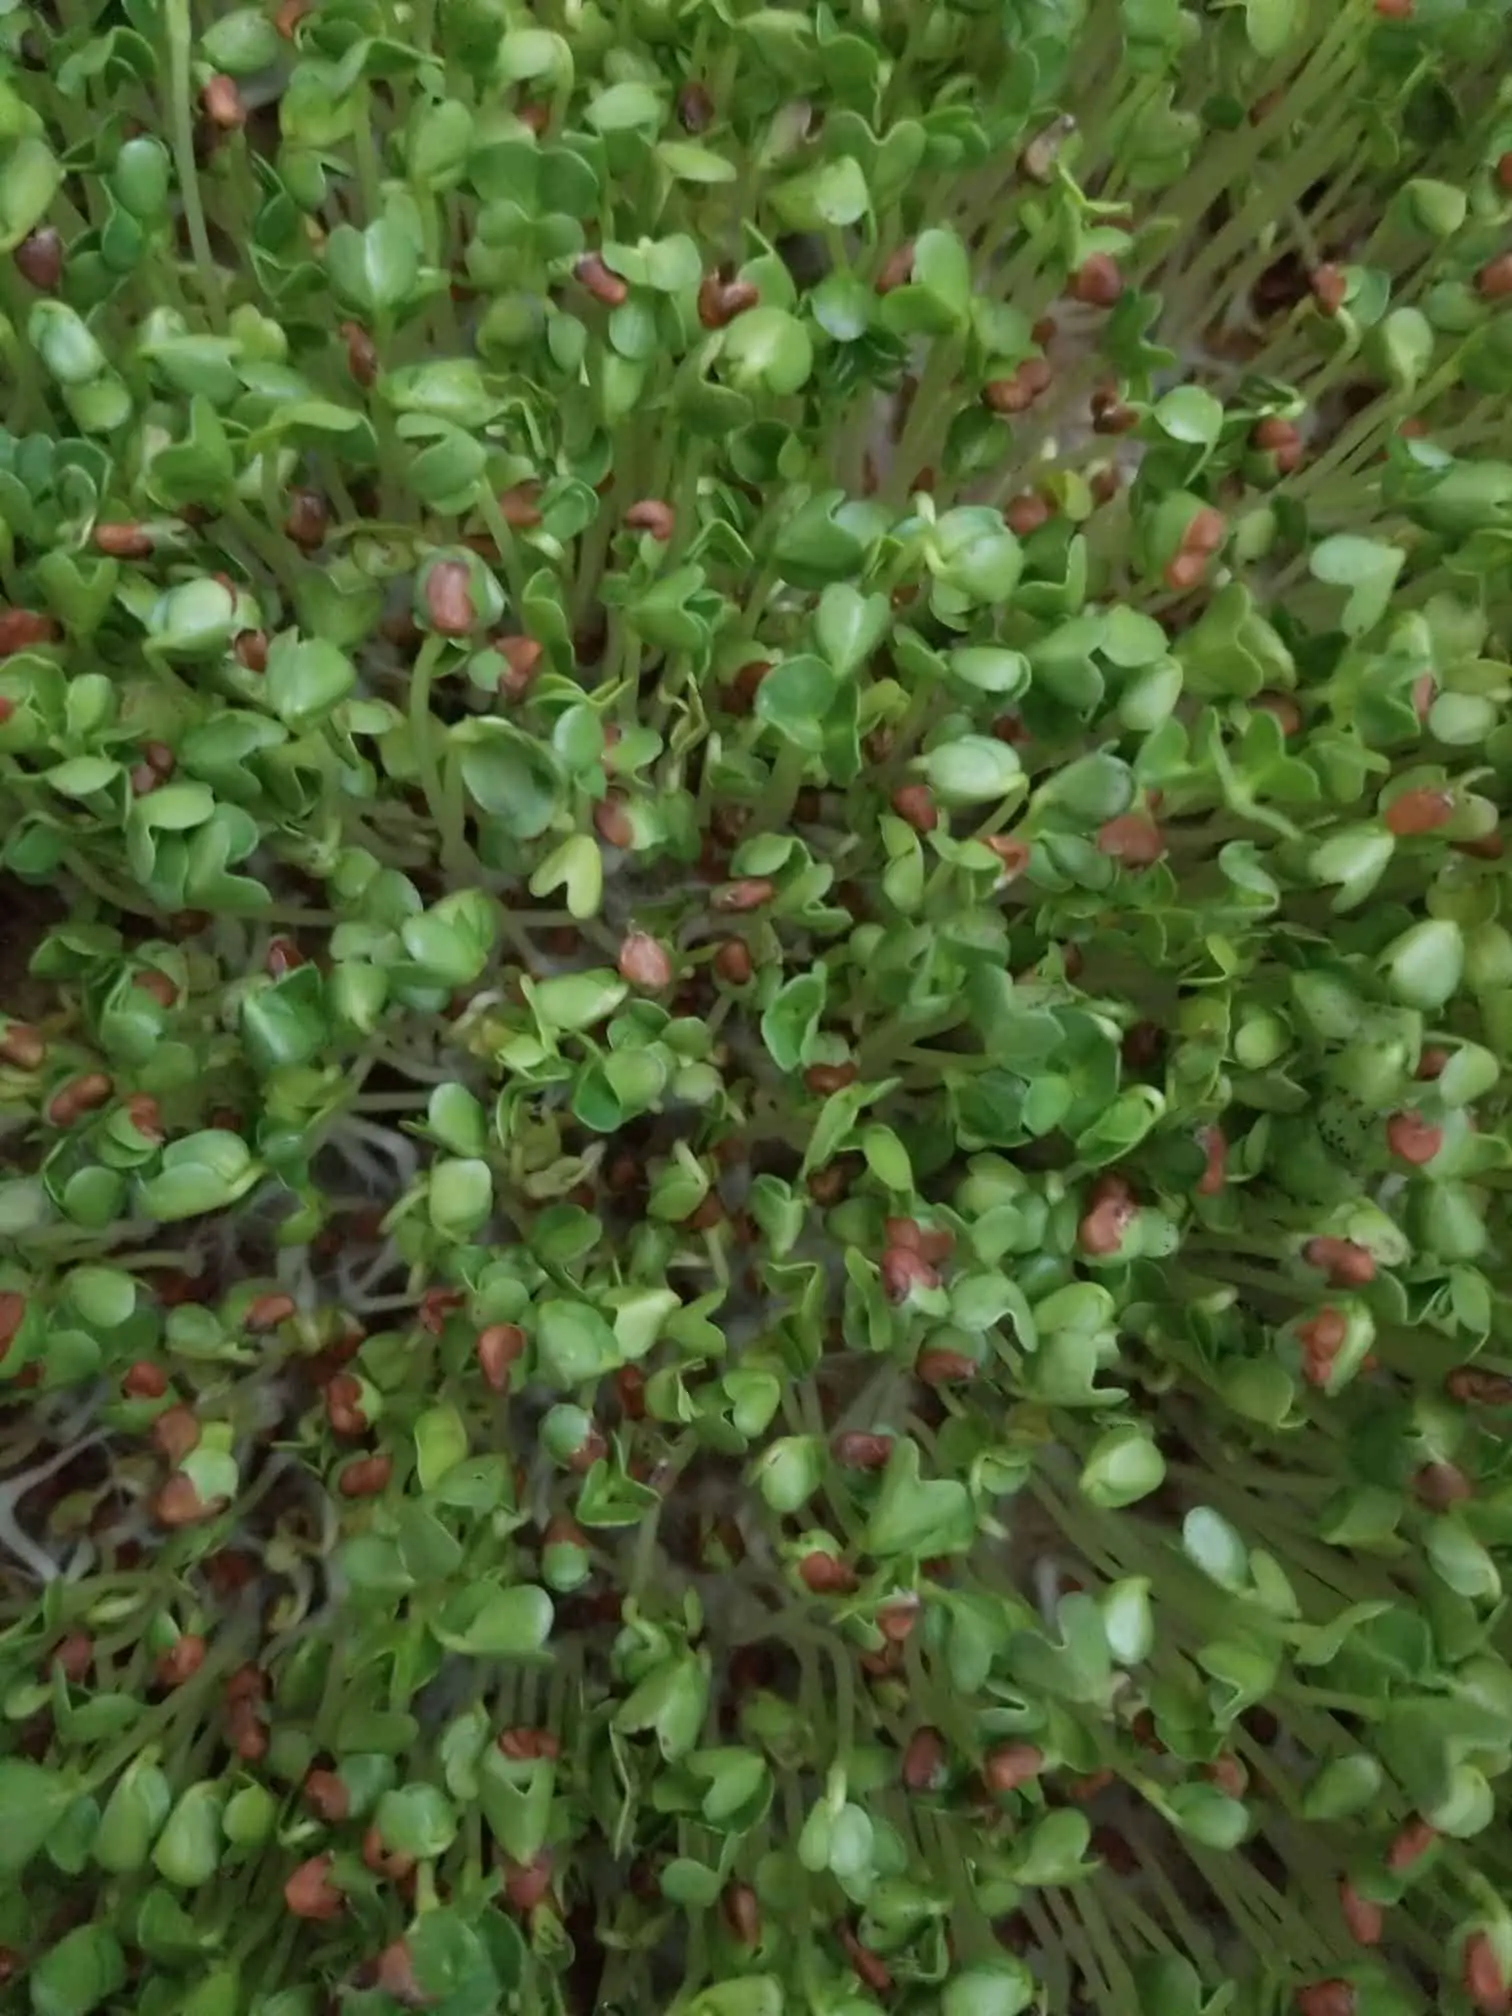
Radish microgreens taste a lot like a radish bulb. However, the peppery/spicy sensation is much more intense. These microgreens also have a lovely crunch and make a beautiful addition to many culinary creations. Although radish microgreens have a fairly intense flavor when eaten on their own, I have not found that they are overpowering when added to a dish.
Due to their flavor and texture, radish microgreens are delicious on salads or sandwiches. I think they are especially delicious on turkey sandwiches. However, I recommend trying them on veggie burgers, chicken tacos, spinach salads, and avocado toast.
You may be asking why would one use radish microgreens instead of a regular radish bulb? Of course, the answer to this question may differ depending on who you talk to, but I would say that the texture and color make a big difference. A leafy texture makes more sense on certain foods than radish slices.
Finally, radish microgreens are extremely nutritious. A study conducted by researchers at the University of Maryland examined the nutrient content of 30 varieties of microgreens belonging to the Brassicaceae family. Of the 30 varieties, rapini radish microgreens had the highest mineral content. Ruby radish hand the lowest mineral content (Xiao et al. 2016).
Steps For Growing Radish Microgreens
The list below outlines the steps for growing your own radish microgreens. The process described below has worked well for me, but I am not claiming that this is the absolute best way for everyone to grow radish microgreens. If you start growing microgreens on a regular basis, it is likely that you will develop your own preferences and refine this process based on your growing environment.
Materials Needed For Growing Radish Microgreens
- Hemp Growing Mat
- Radish Seeds
- Heating Mat
- Grow Lights if you do not have access to a sunny window.
- pH Up/pH Down (Optional)
- Growing trays – Make sure you use growing trays without drainage holes. If you do not want to spend the money on “official” growing trays, you can use a glass casserole dish, takeout carrier, or Tupperware container.
- Hydrogen peroxide or Star San
- Warm, soapy water
Steps For Growing Radish Microgreens
- Compile the materials listed above.
- Soak your radish seeds for 4-6 hours prior to planting. I have read many sources that say you do not need to soak radish seeds prior to planting, so check the instructions of your seed packet.
- Next, sanitize the growing tray. If you have used your growing tray for a previous project, it is particularly important to sanitize the growing tray. Clean your tray with warm, soapy water. Then spray the tray with a hydrogen peroxide solution. After ten minutes, rinse the hydrogen peroxide solution off of the growing tray. Finally, use a clean cloth to dry off the tray. Alternatively, you can use Star San to sanitize the growing trays.
- Sanitize your seeds by soaking the seeds in a mixture of 4 tsp of white vinegar, 4 tsp of food-grade hydrogen peroxide, and 1 quart of water.
- Pour a gallon of water into a large bowl or bucket. Use a calibrated pH meter to take a pH measurement. Ideally, the pH should be between 5.6 and 6.2. If the pH is not within this range, you can adjust it by adding pH Up or pH Down. Only add a little bit of these chemicals at a time to avoid over-adjusting. Honestly, you can likely get away with not completing this step. If you are a beginner, I would actually recommend skipping this step and adjusting the pH when you are refining your growing process.
- Pour the water from Step 4 into your growing tray. Then place your growing mat on the water surface and allow the growing mat to absorb water. Tilt the tray and pour out any excess water.
- Evenly spread your seeds over the soil or growing mat. It is important to make sure that you do not plant the seeds too densely. For a 10″x20″ growing tray, sow a maximum of 4 tbsp of radish seeds.
- Place the growing tray on a heating mat and cover the seeds with another growing tray for two to three days. This blackout period mimics the process of placing soil on top of your seeds like you would in an outdoor garden. Note that a heating mat is not necessary, but it does help the seeds germinate.
- Upon completion of the blackout period, place the growing tray under your grow lights or by a sunny window. Your microgreens will be a pale yellow color. Do not worry about this. It is completely normal. Your microgreens may also have white, fuzzy stuff on them. Do not assume this is mold and throw out your growing tray (see next section).
- Check your microgreens every day until it is time to harvest. If the growing mat is dry, lift up the growing mat and add water. Then tilt the tray to make sure the water is distributed evenly across the tray. I have noticed that radish microgreens need more water as they grow bigger.
- Your radish microgreens will be ready to harvest 7 to 10 days after sowing.
Mold vs. Root Hairs
Another common mistake that new microgreen growers make is confusing root hairs for mold. Personally, I made this mistake when growing my first tray of radish microgreens. I uncovered the tray after the blackout period and discovered the whole tray was covered with white, fuzzy stuff. I almost threw out the entire tray thinking it was mold! Luckily, I did a little research and determined that the white stuff was actually root hairs.
Root hairs are a natural part of the plant that “look” for water and nutrients. They start to develop at the very early stages of growth. At first glance, the root hairs may be so dense they look like mold. However, if you look closer, they are actually little hairs sticking out from the stem of individual microgreen stems.
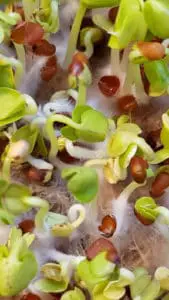
If you are still unsure whether your microgreens are infected with mold or simply growing root hairs, you can try the spray test. Simply spray the white substance in question with water. If it “disappears,” it is very likely that the white stuff is root hairs. In contrast, mold will remain visible if you spray it with water.
How To Harvest Radish Microgreens
About 8-12 days after sowing the seed, it is time to harvest your microgreens. At this point, your microgreens will be three to four inches tall and will have little greens leaves at the top. To harvest, use a sharp knife or high-quality scissors to cut off the top 2 inches of the microgreens.
How To Properly Wash And Store Microgreens
After harvesting your microgreens, it is important to properly wash and store your microgreens. If possible, I recommend harvesting your microgreens directly from the growing tray right before you plan to eat them. However, you should always wash your microgreens immediately prior to eating them.
Washing Radish Microgreens
Like other plants, it is important to wash microgreens prior to eating them. Even if you grow your own radish microgreens and do not use pesticides, it is still important to wash them because microgreens are living plants and can have harmful bacteria growing on them.
To wash your microgreens, first, rinse them with cold water. Then gently pat them dry with a paper towel or clean towel. It is important to dry them thoroughly. I usually go through two paper towels when drying one serving of microgreens.
Storing Radish Microgreens
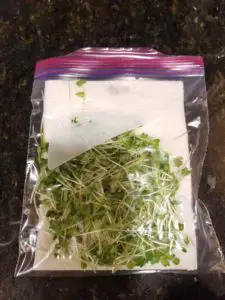
It is important to remember that you should NOT store wet microgreens in the refrigerator. This will result in a stinky, mushy mess. To store microgreens, keep them in a sealed Ziplock bag on top of a dry paper towel. Keep your microgreens covered until you are ready to use them so they don’t wilt.
It is also important to store your radish microgreens in a cold refrigerator. A study conducted by researchers at the University of Maryland investigated various factors that impact the shelf life of radish microgreens such as storage temperature and packaging. The results of the study indicated that the optimal storage temperature for radish microgreens is 34°F (Xiao et al. 2014). At this temperature, radish microgreens have a shelf life between 10 and 14 days. However, packaging and using a chlorine washing solution did not impact the shelf life of radish microgreens.
Finally, it is important to store your microgreens in a dark area. Another study conducted at the University of Maryland found that radish microgreens deteriorate more quickly when exposed to light (Xiao et al. 2014).