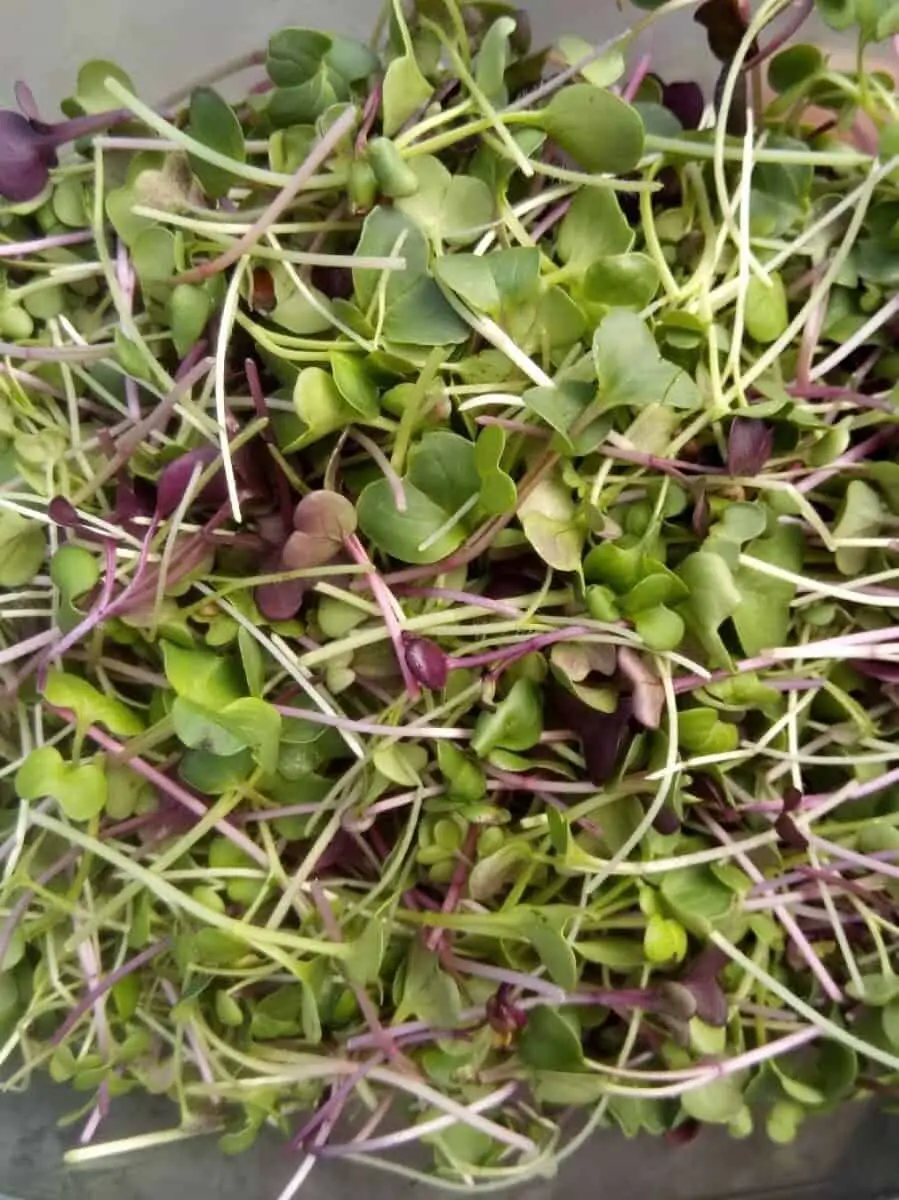
Over the past couple of years, I have fallen in love with growing microgreens. It is a simple, practical hobby that allows me to grow healthy food for my husband and I. However, I often grow way more microgreens than we can eat. Unfortunately, this food often goes to waste. In an effort to reduce our food waste, I have been researching ways to extend the shelf life of my microgreens.
The following table is a summary of my findings and shows how various storage/preservation methods can extend the shelf life of microgreens.
| Storage Method | Shelf Life |
|---|---|
| Dehydrating | 1-3 months |
| Freezing | 6 months |
| Making Pesto | 7 days in the refrigerator 6 months if frozen |
| Canning | N/A |
| Storing in the Refrigerator | 7 days |
Of course, some storage methods will appeal to certain people more than others. For this reason, I have provided a detailed discussion of how (or whether) you can use each of the storage methods listed in the table above to extend the shelf life of microgreens.
1. Dehydrating Microgreens
One of my favorite ways to preserve microgreens is to dehydrate them. Dehydrated microgreens can be used as a spice in soups and other dishes. Dried radish microgreens make a great spice. You can also use dehydrated microgreens as a nutritious green powder that can be added to smoothies and juices. There are a couple of ways to dehydrate microgreens.
Drying Microgreens With A Dehydrator
The easiest way to dehydrate microgreens is to use a dehydrator. A dehydrator will dry your microgreens at a low temperature in order to preserve the nutritional value of the microgreens. To dry microgreens with a dehydrator, pre-heat your dehydrator to 110°F.
Drying Microgreens With An Oven
If you do not own a dehydrator, you can still dry your microgreens using your oven. Simply pre-heat your oven to its lowest temperature setting. Then lay your microgreens on a cookie sheet and put the cookie sheet in the oven.
When drying microgreens in the oven, you need to leave the door of the oven open to encourage air circulation. Unfortunately, this means your kitchen may get a bit hot. It takes 1.5-3 hours for microgreens to dehydrate in the oven.
Drying Microgreens With An Air Fryer
Some air fryers can also be used to dehydrate microgreens. The air fryer needs to have a low heat setting and should have a good air ventilation system. Before attempting to dehydrate any food in an air fryer, make sure to check the manual to verify that the device can be used as a dehydrator. The Ninja AF101 Air Fryer is a good example of an air fryer with low-temperature dehydrating options.
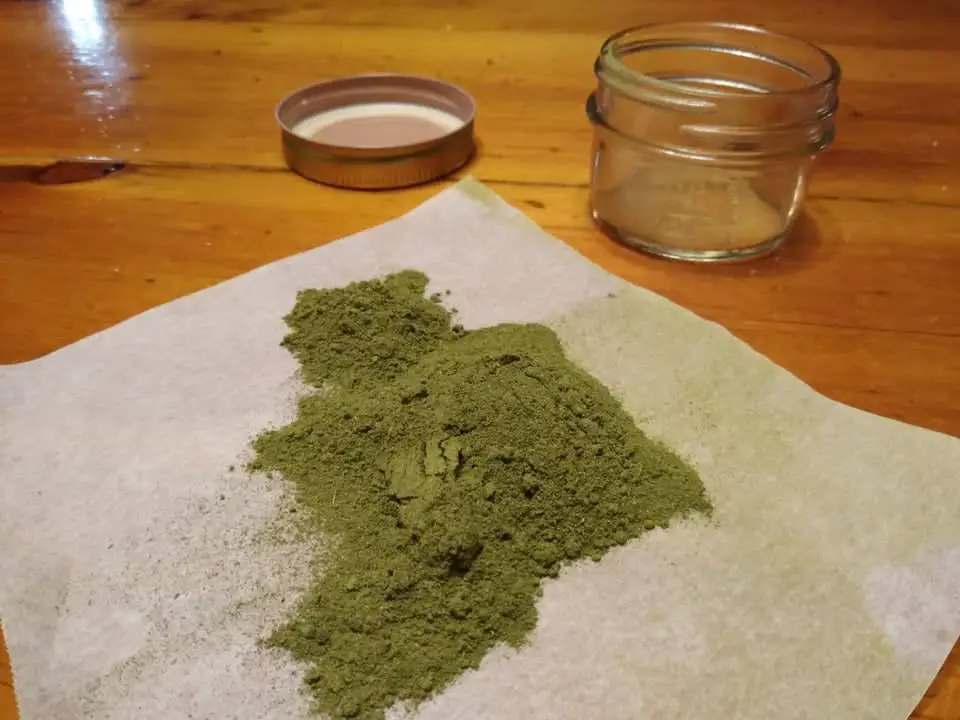
How Long Do Dried Microgreens Last?
Dehydrated microgreens can last 8-10 years if they are stored in a hermetically sealed container and placed in a location that maintains a constant temperature of about 70°F. If you decide to store your dried microgreens in a jar, you should try to use your dehydrated microgreens within 1-2 months if you want to maximize the nutritional benefits from the powder. After that, the nutritional value of the powder begins to decline.
To learn more about dehydrating microgreens, check out this blog post I wrote on the subject.
2. Freezing Microgreens
Like most foods, microgreens can be frozen in order to preserve them for a later time. However, freezing microgreens does significantly alter the taste and texture of the greens. When thawed, they will no longer the the crisp, tender greens that they were before they went in the freezer. Just imagine what frozen spinach is like when it is thawed.
Because freezing alters the taste and texture of microgreens so much, you should not expect to use them for cooking or garnishing dishes. However, frozen microgreens make excellent additions to smoothies and juices. A creative way to freeze microgreens for smoothies is to add some microgreens to an ice tray and fill the ice tray with fruit juice.
Here are some more tips for freezing microgreens:
- Wash your microgreens before putting them in the freezer. This will remove any dirt remaining on the stems or leaves.
- Thoroughly dry your microgreens with a paper towel or clean cloth before putting them in the freezer. Wet microgreens will develop ice crystals in the freezer.
- It is best to freeze your microgreens in two phases. The first phase involves placing your microgreens (cleaned and dried) on a flat tray. Put the tray in the freezer for about 45 minutes. Once the microgreens have firmed up, put them in an airtight container or ziplock bag. The two-phase approach to freezing will help the microgreens maintain their shape.
Frozen microgreens, like other vegetables, can be stored in a freezer for several months.
3. Making Pesto With Microgreens
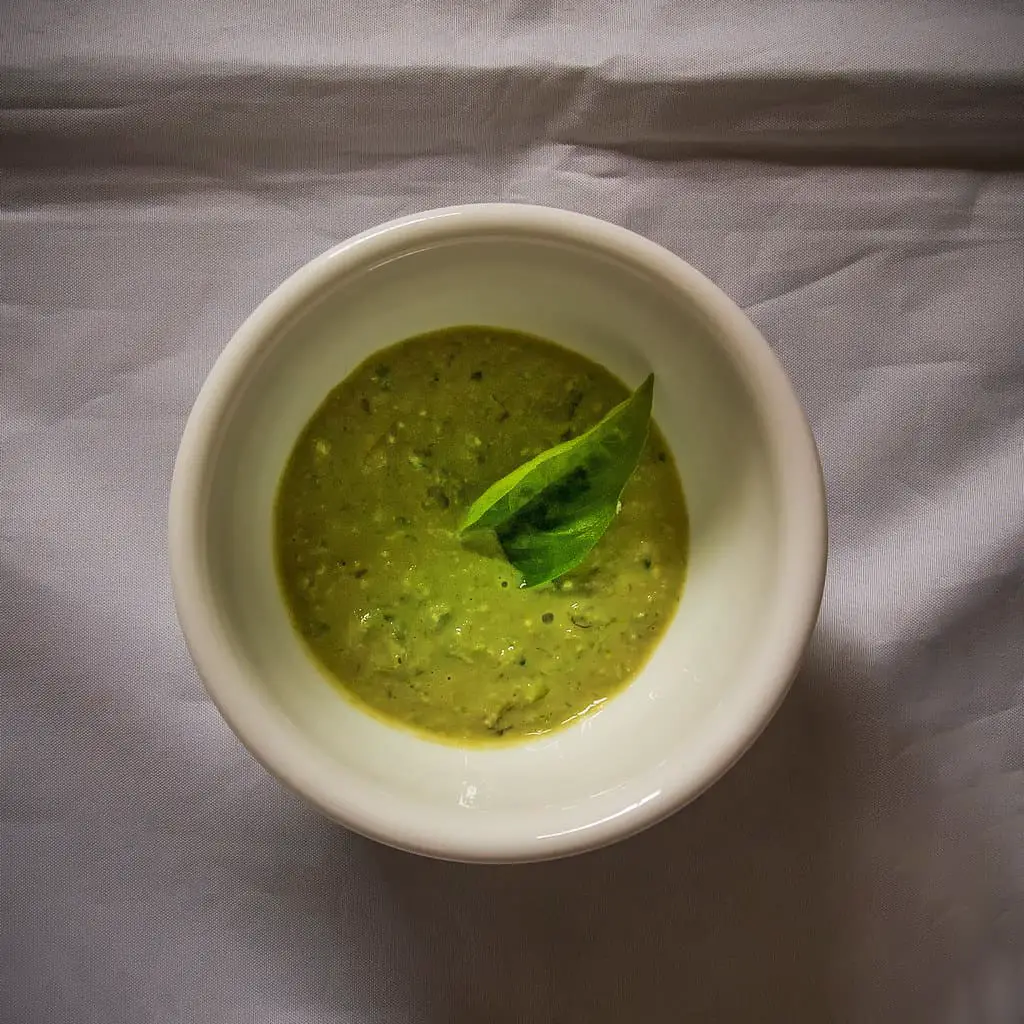
If you have a lot of microgreens that you will not be able to use, consider using them to make pesto. Microgreen pesto has a light, fresh, earthy flavor that is great on top of pizza, sandwiches, and eggs.
Fresh pesto can be stored in the refrigerator for about a week as long as it is kept in an airtight container. You can also store the pesto in the freezer for about 6 months. For people who do not make smoothies on a regular basis, storing frozen microgreen pesto may be more practical than freezing raw microgreens.
4. Canning Microgreens

Canning is another way to preserve leafy vegetables. Unfortunately, I could not find much information about canning microgreens specifically. After taking some time to learn about canning in general, I came to the conclusion that canning is probably not a good way for home microgreen growers to preserve their microgreens.
First, canning microgreens would require expensive equipment. There are two types of canning: pressure canning and water bath canning. In general, pressure canning is more appropriate for low-acidic foods (like microgreens), and water bath canning works best for fruits and pickled items. While water bath canning only requires a decent kettle, pressure canning requires expensive, specialized equipment. Pressure canners typically cost between $100 and $350.
Another major downside of canning microgreens is that you need a very large volume of greens to make it work. On average, you will need about 28 pounds of greens for a canner load of 7 quarts (USDA, 2015). Similarly, you will need about 18 pounds of greens for a canner load of 9 pints.
In 2016, Ball Canning issued new pressure canning guidance that indicated that a pressure canner must contain at least two one-quart jars OR four one-pint jars. You can expect to harvest 5-6 ounces of microgreens from a 10″x20″ growing tray. That means that you need at least 12 trays of microgreens to safely process them with a pressure canner. Most growers It would be very difficult to grow enough microgreens to generate these large volumes.
5. Properly Storing Microgreens In The Refrigerator
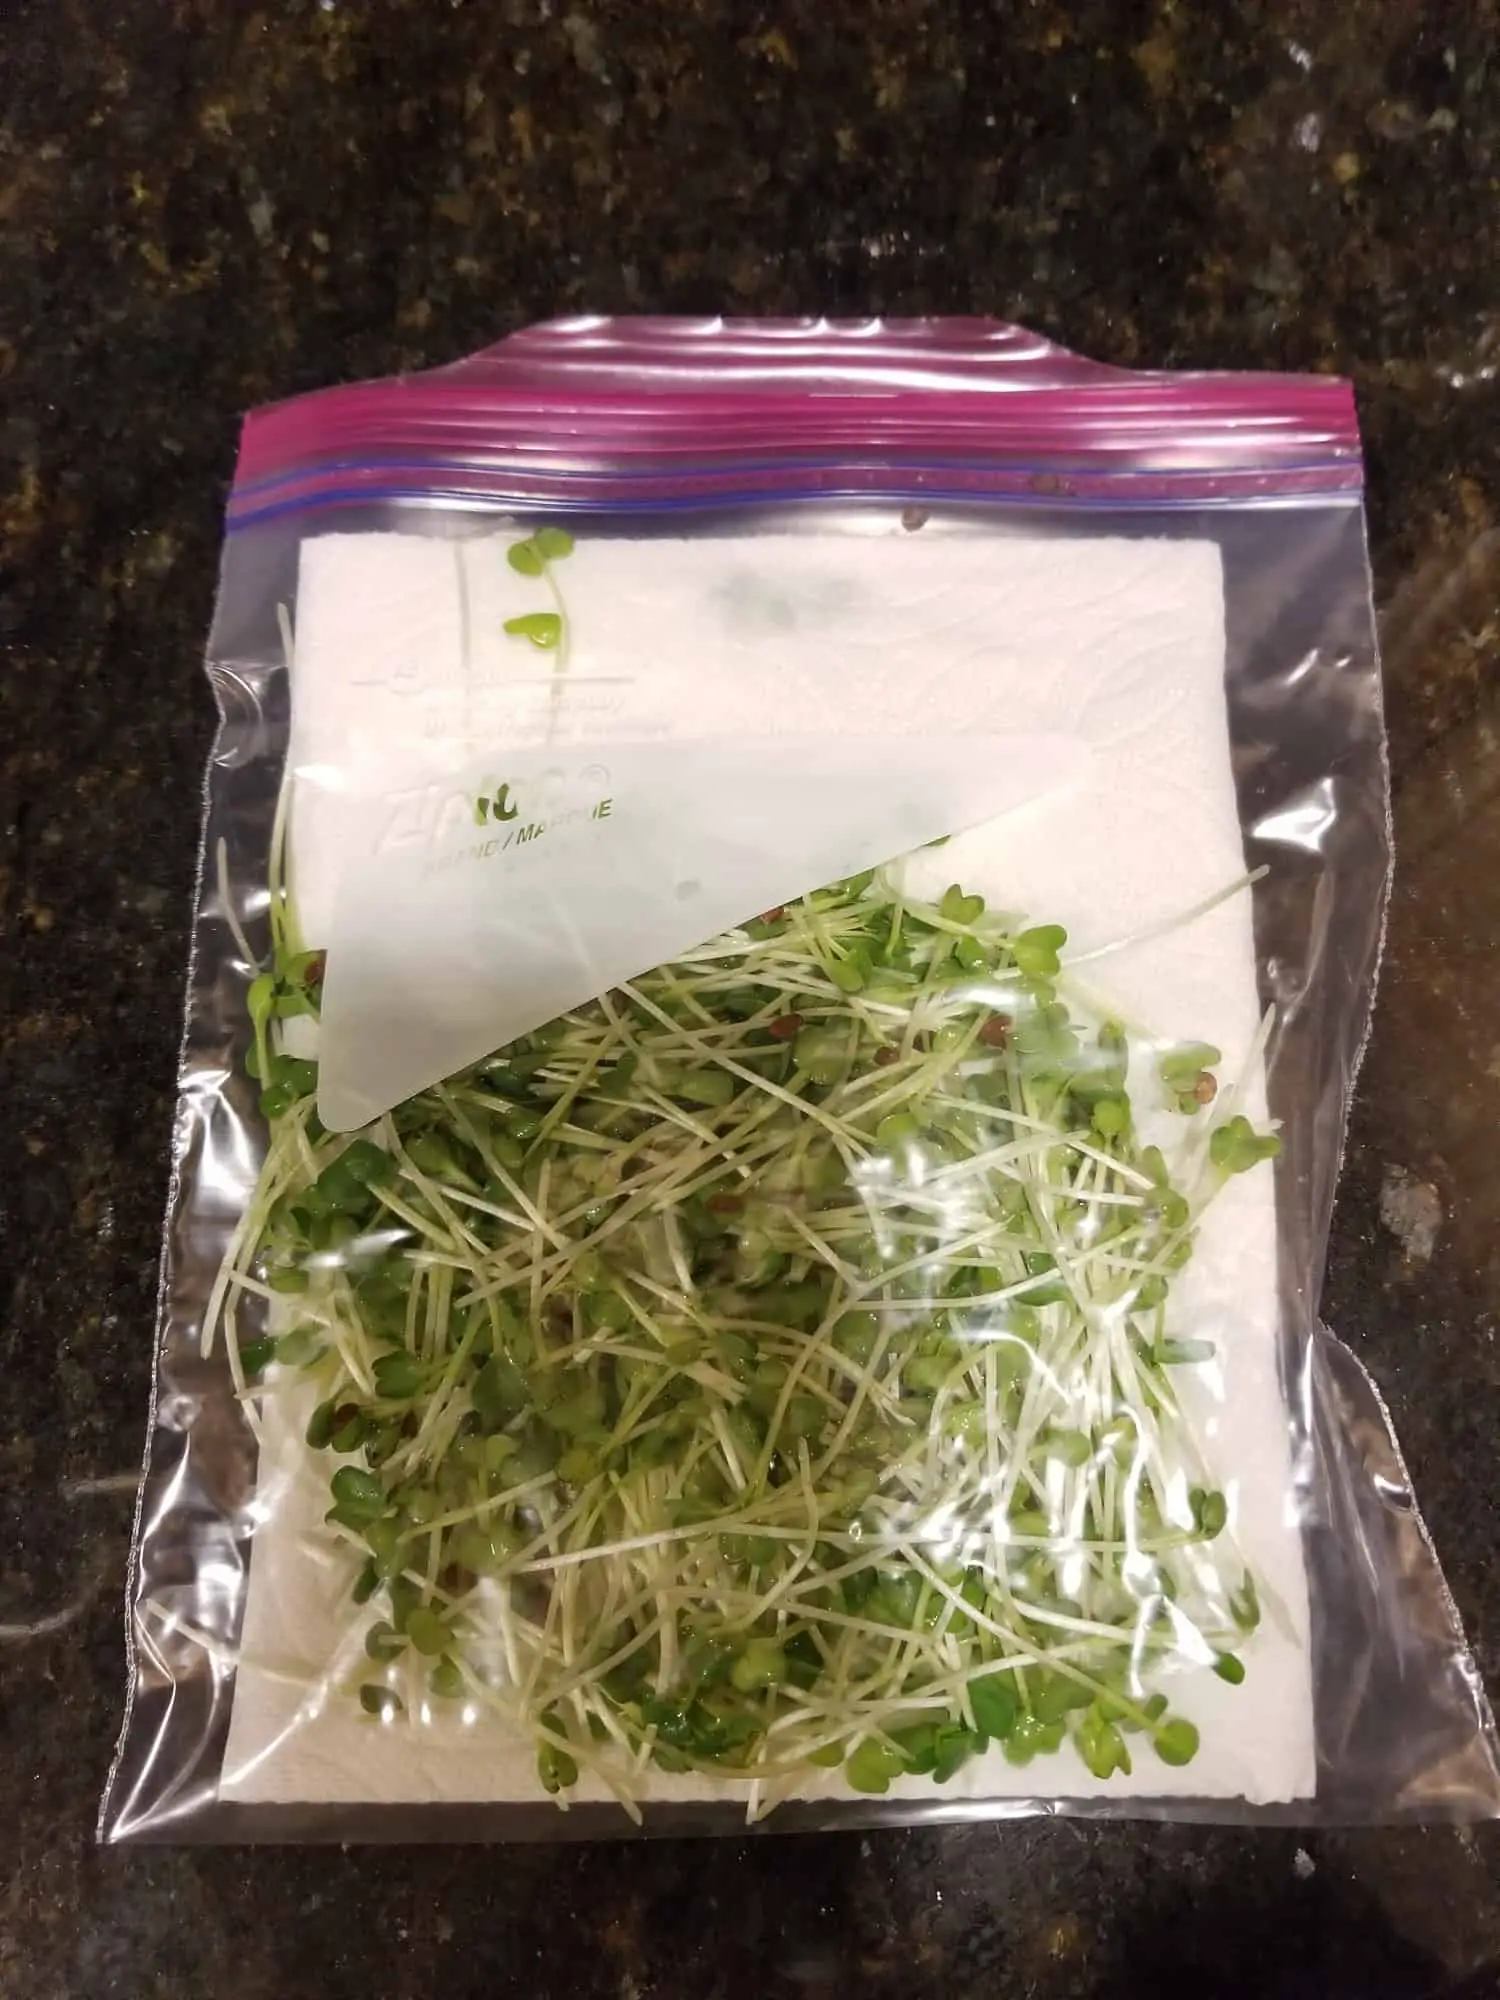
For optimal freshness, it is best to cut microgreens when you need to use them. However, proper storage in the refrigerator will extend the shelf life of cut microgreens. Storing microgreens in the refrigerator will extend the shelf life of your microgreens because cold temperatures maintain the quality.
Studies have shown that storing microgreens at a lower temperature extends their shelf life. For example, Berba and Uchanski (2012) found that when microgreens were stored at 50°F instead of 39°F, the shelf life was reduced from 14 to 7 days for arugula and red cabbage microgreens and from 21 to 14 days for radish microgreens. Similarly, Xiao et al. (2014b) determined that a storage temperature of 34°F resulted in higher-quality radish microgreens than a storage temperature of 41°F.
For optimal freshness, keep cut microgreens in a refrigerator that is set to a temperature between 34°F and 40°F. In addition, it is important to store the microgreens in a resealable bag on top of a damp paper towel. The damp paper towel will prevent the microgreens from drying out and becoming too wilted. Finally, it is important to avoid storing wet microgreens in the refrigerator. Although humidity is an important component of microgreen storage, wet microgreens can turn into a mushy mess when stored in the refrigerator.